I'm thinking BIG, bold and very very colourful for our next project and this simple, easy peasy crochet pattern is the first step in creating our giant flower garden for Bath in Fashion 2016.
As ever in yarn-bombing projects I always lean toward the acrylic dk yarn. It's bright, lightweight and dries very quickly when out in the elements....it's also very affordable making it an obvious choice for any outdoor crochet yarn bomb!
I am delighted to announce that for Bath in Fashion 2016 we are being sponsored by Rico-Design who produce fabulous yarn in the most amazing colours. My love affair with crochet all began with Rico Creative Cotton so I have a lot to thank them for! My home is filled to bursting with a glorious selection of Rico yarn which I shall be distributing to anyone wishing to take part in this project. All you need to do is join our band of happy ladies on the first wednesday of every month at Carluccio's in Milsom Place, Bath 10:00 - 12:00. You will find an eclectic mix of lovely ladies, an abundance of wool (all free) and the best coffee in town!
The Pattern:
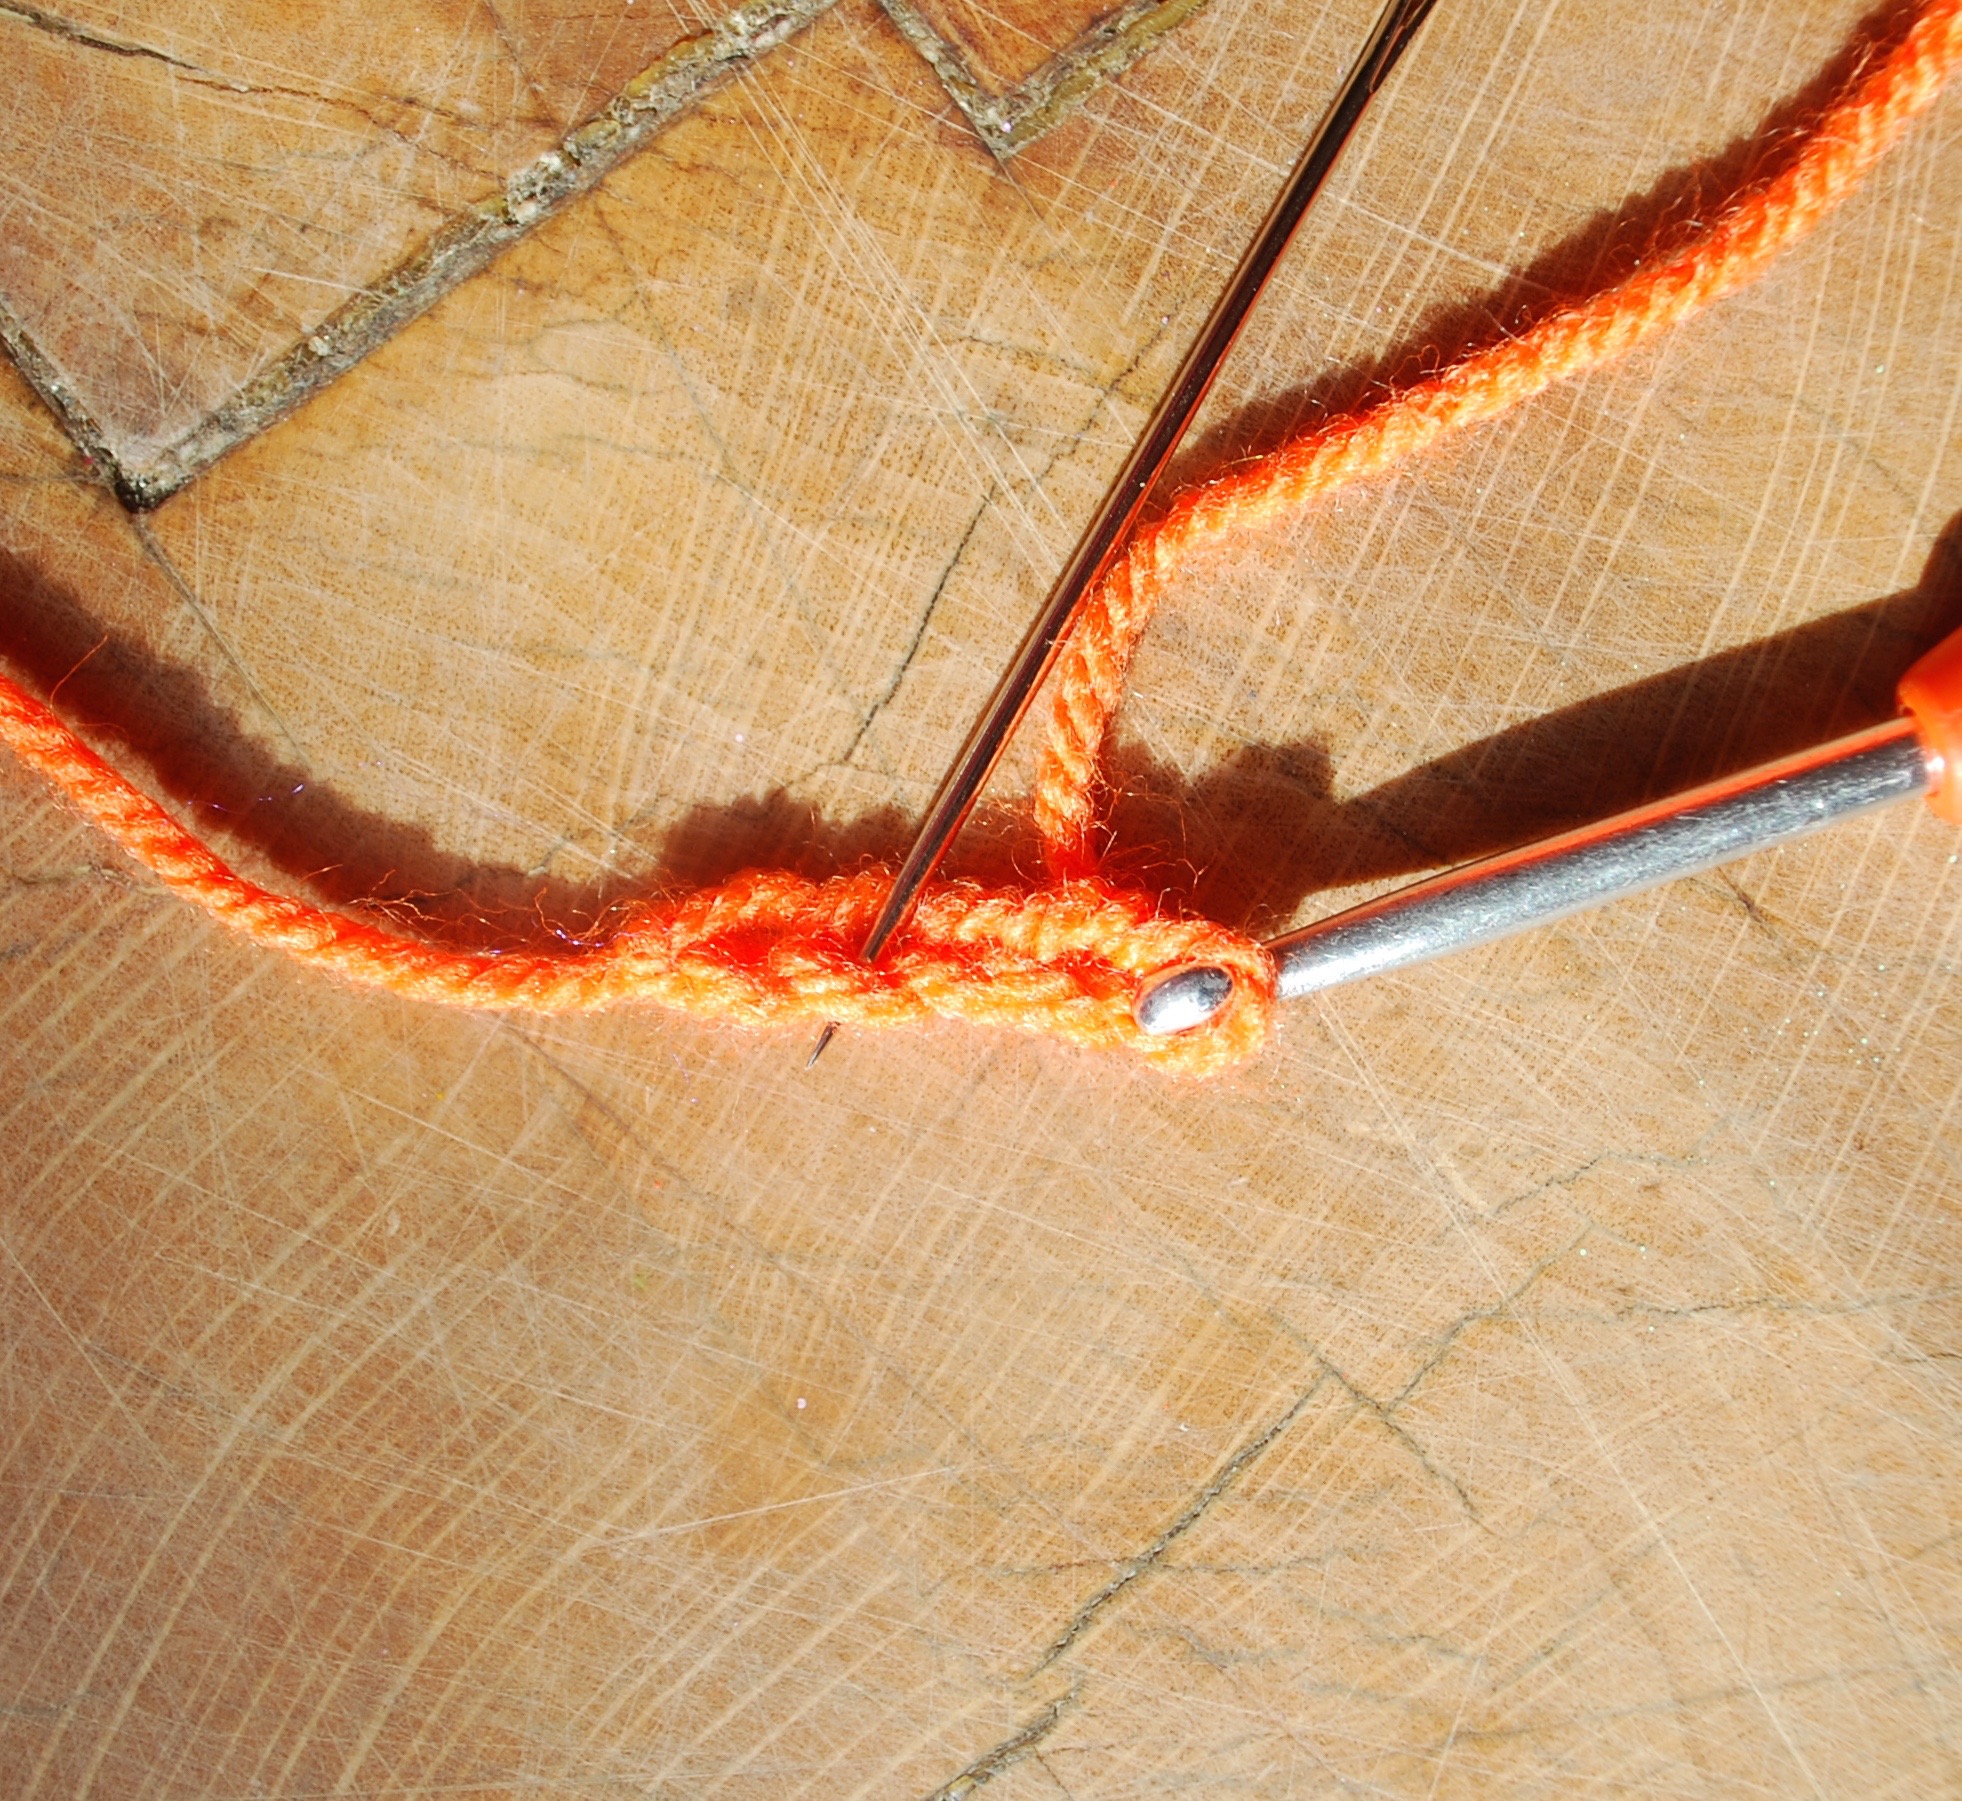
Chain 4, turn your work and into the second chain from hook (as shown) work 2 half trebles (or trebles or double crochet....the choice is yours just be consistent)
Work 2 half trebles into next stitch = 4 stitches
Chain 2 and turn. Always end your row this way in readiness for the next row.
Work 2 half trebles into the first stitch (as shown) and then 1 half treble crochet into each and every stitch until the last stitch into which you will work 2 double crochet.
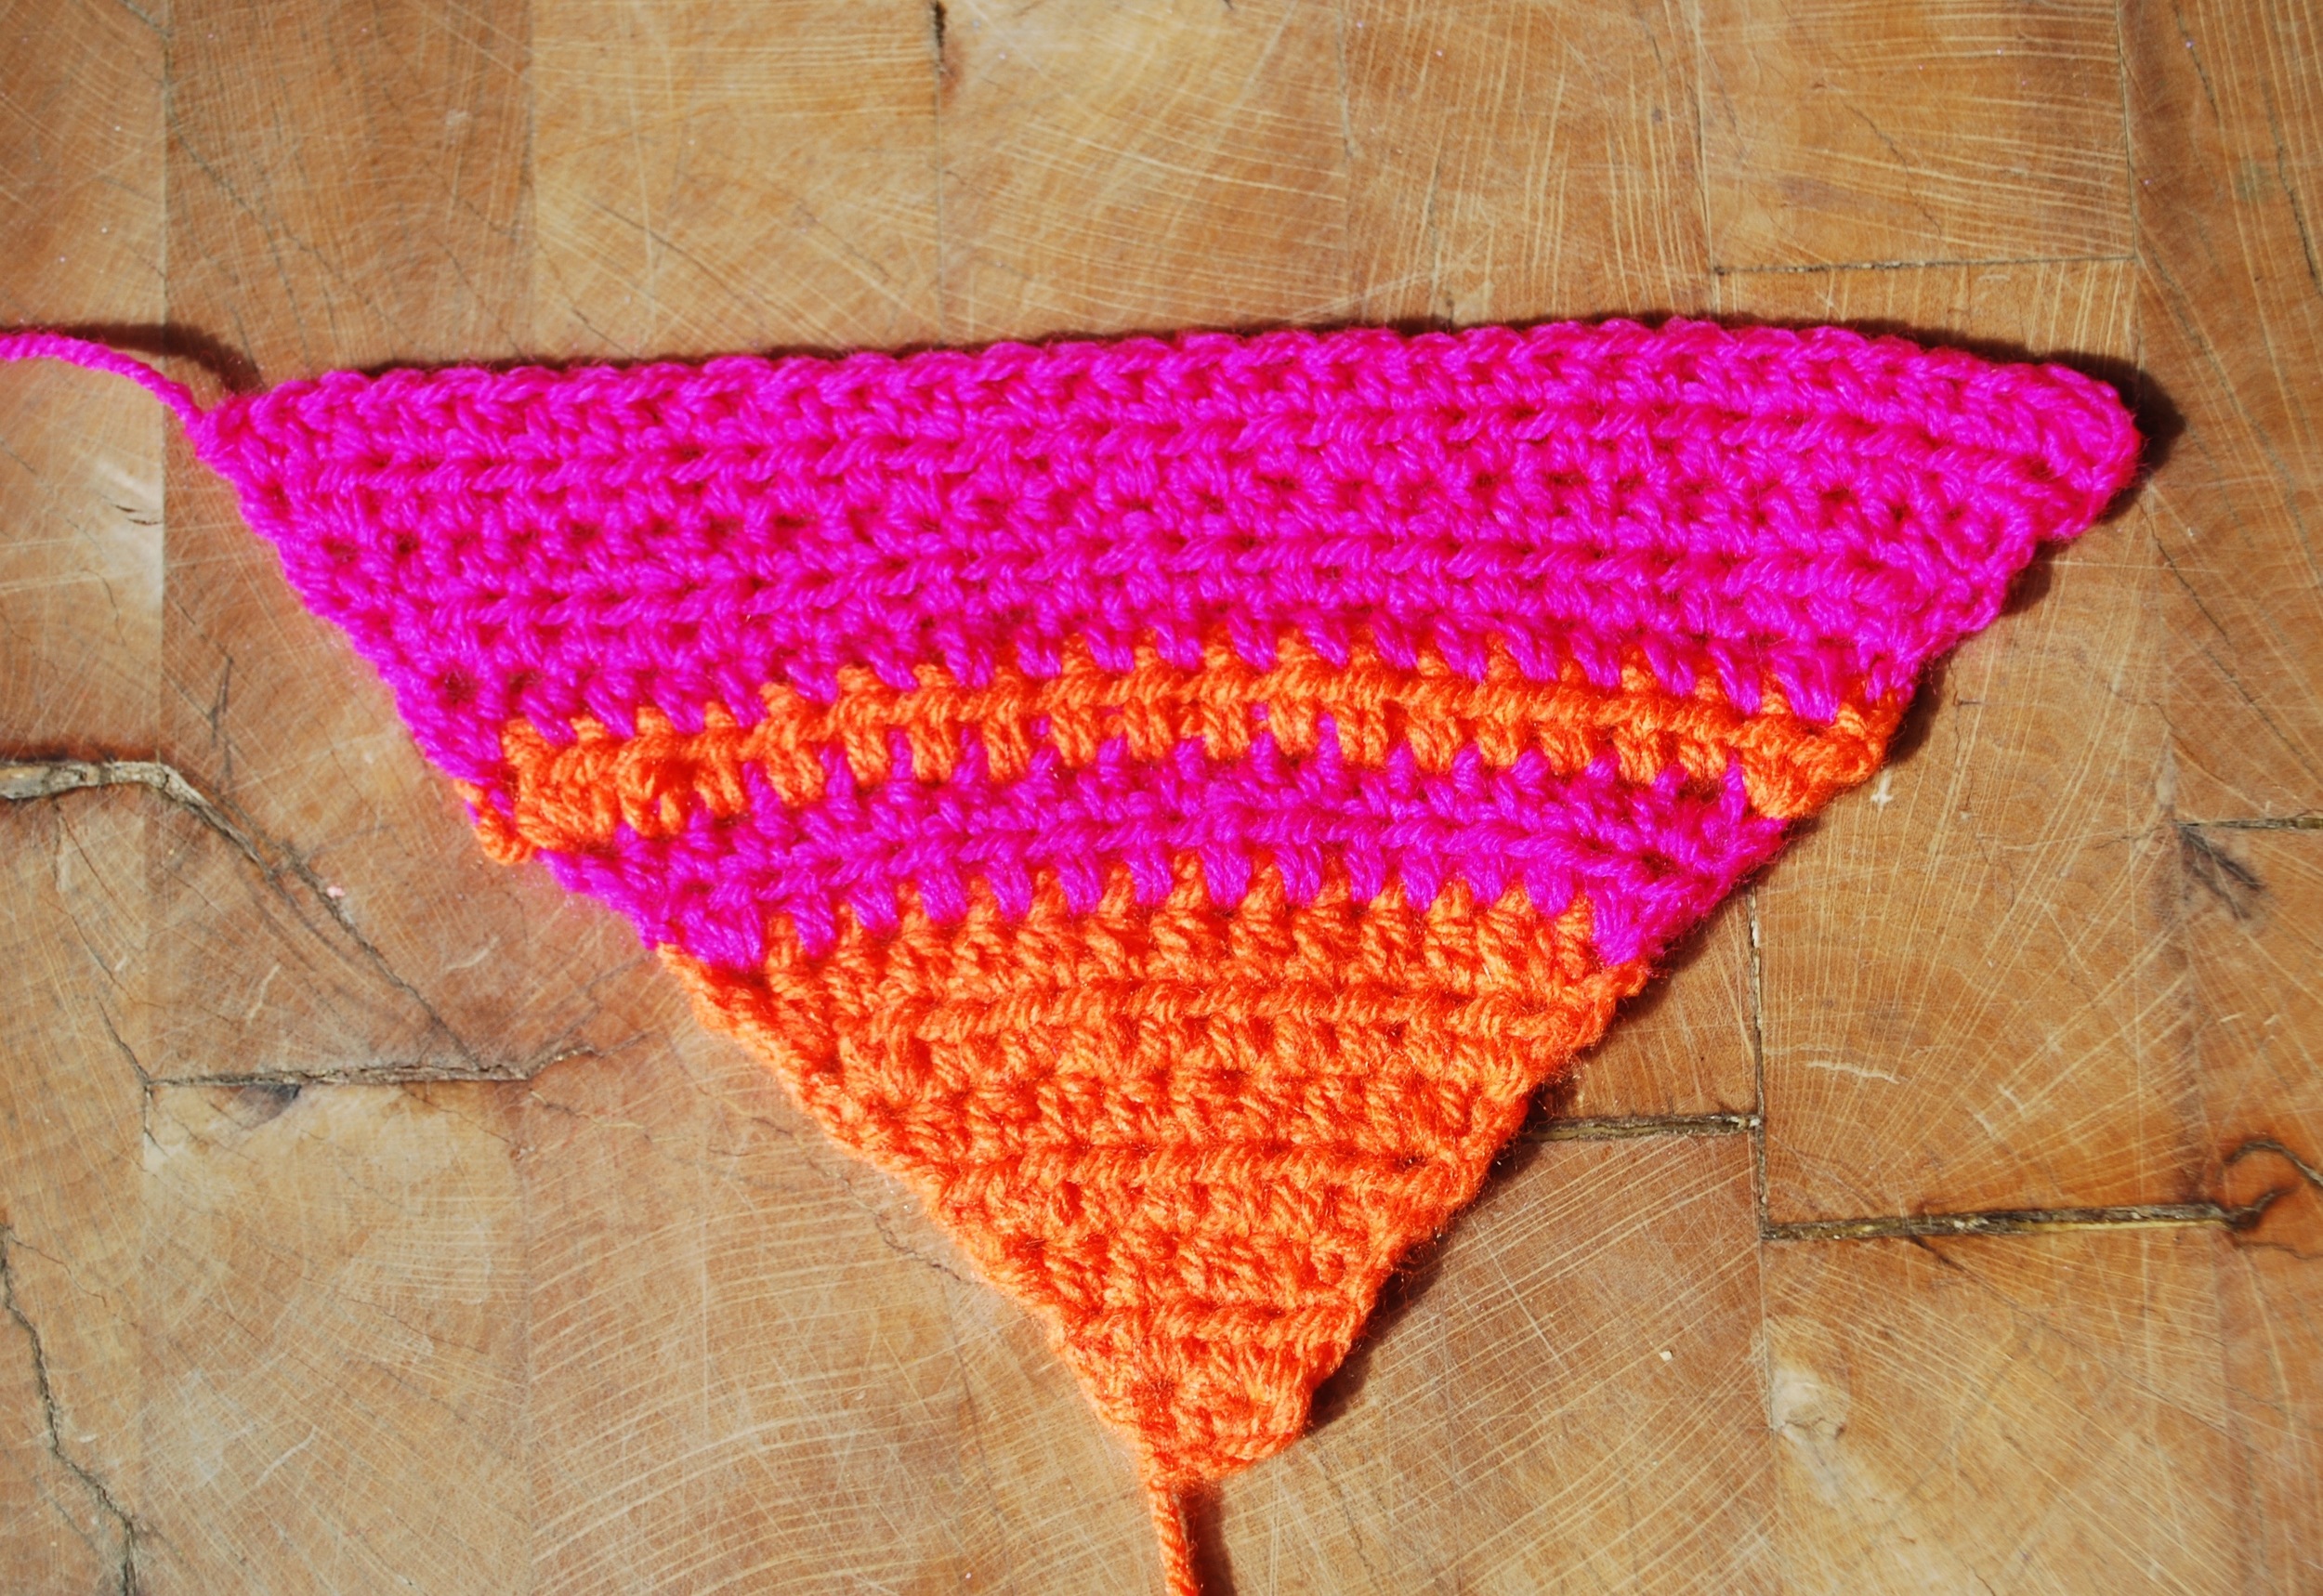
And this is the pattern. Begin and end each row with an increase (2 had trebles into the first and last stitch). This increase gives us a nice wide triangle.
Add another colour ...or several colours as and when you decide being sure to work over your ends.
Continue in this way until you have a triangle you are happy with.
And now for the sculptural bit!
You will need some wire (from any hardware shop, garden centre or DIY store and a pair of pliers.
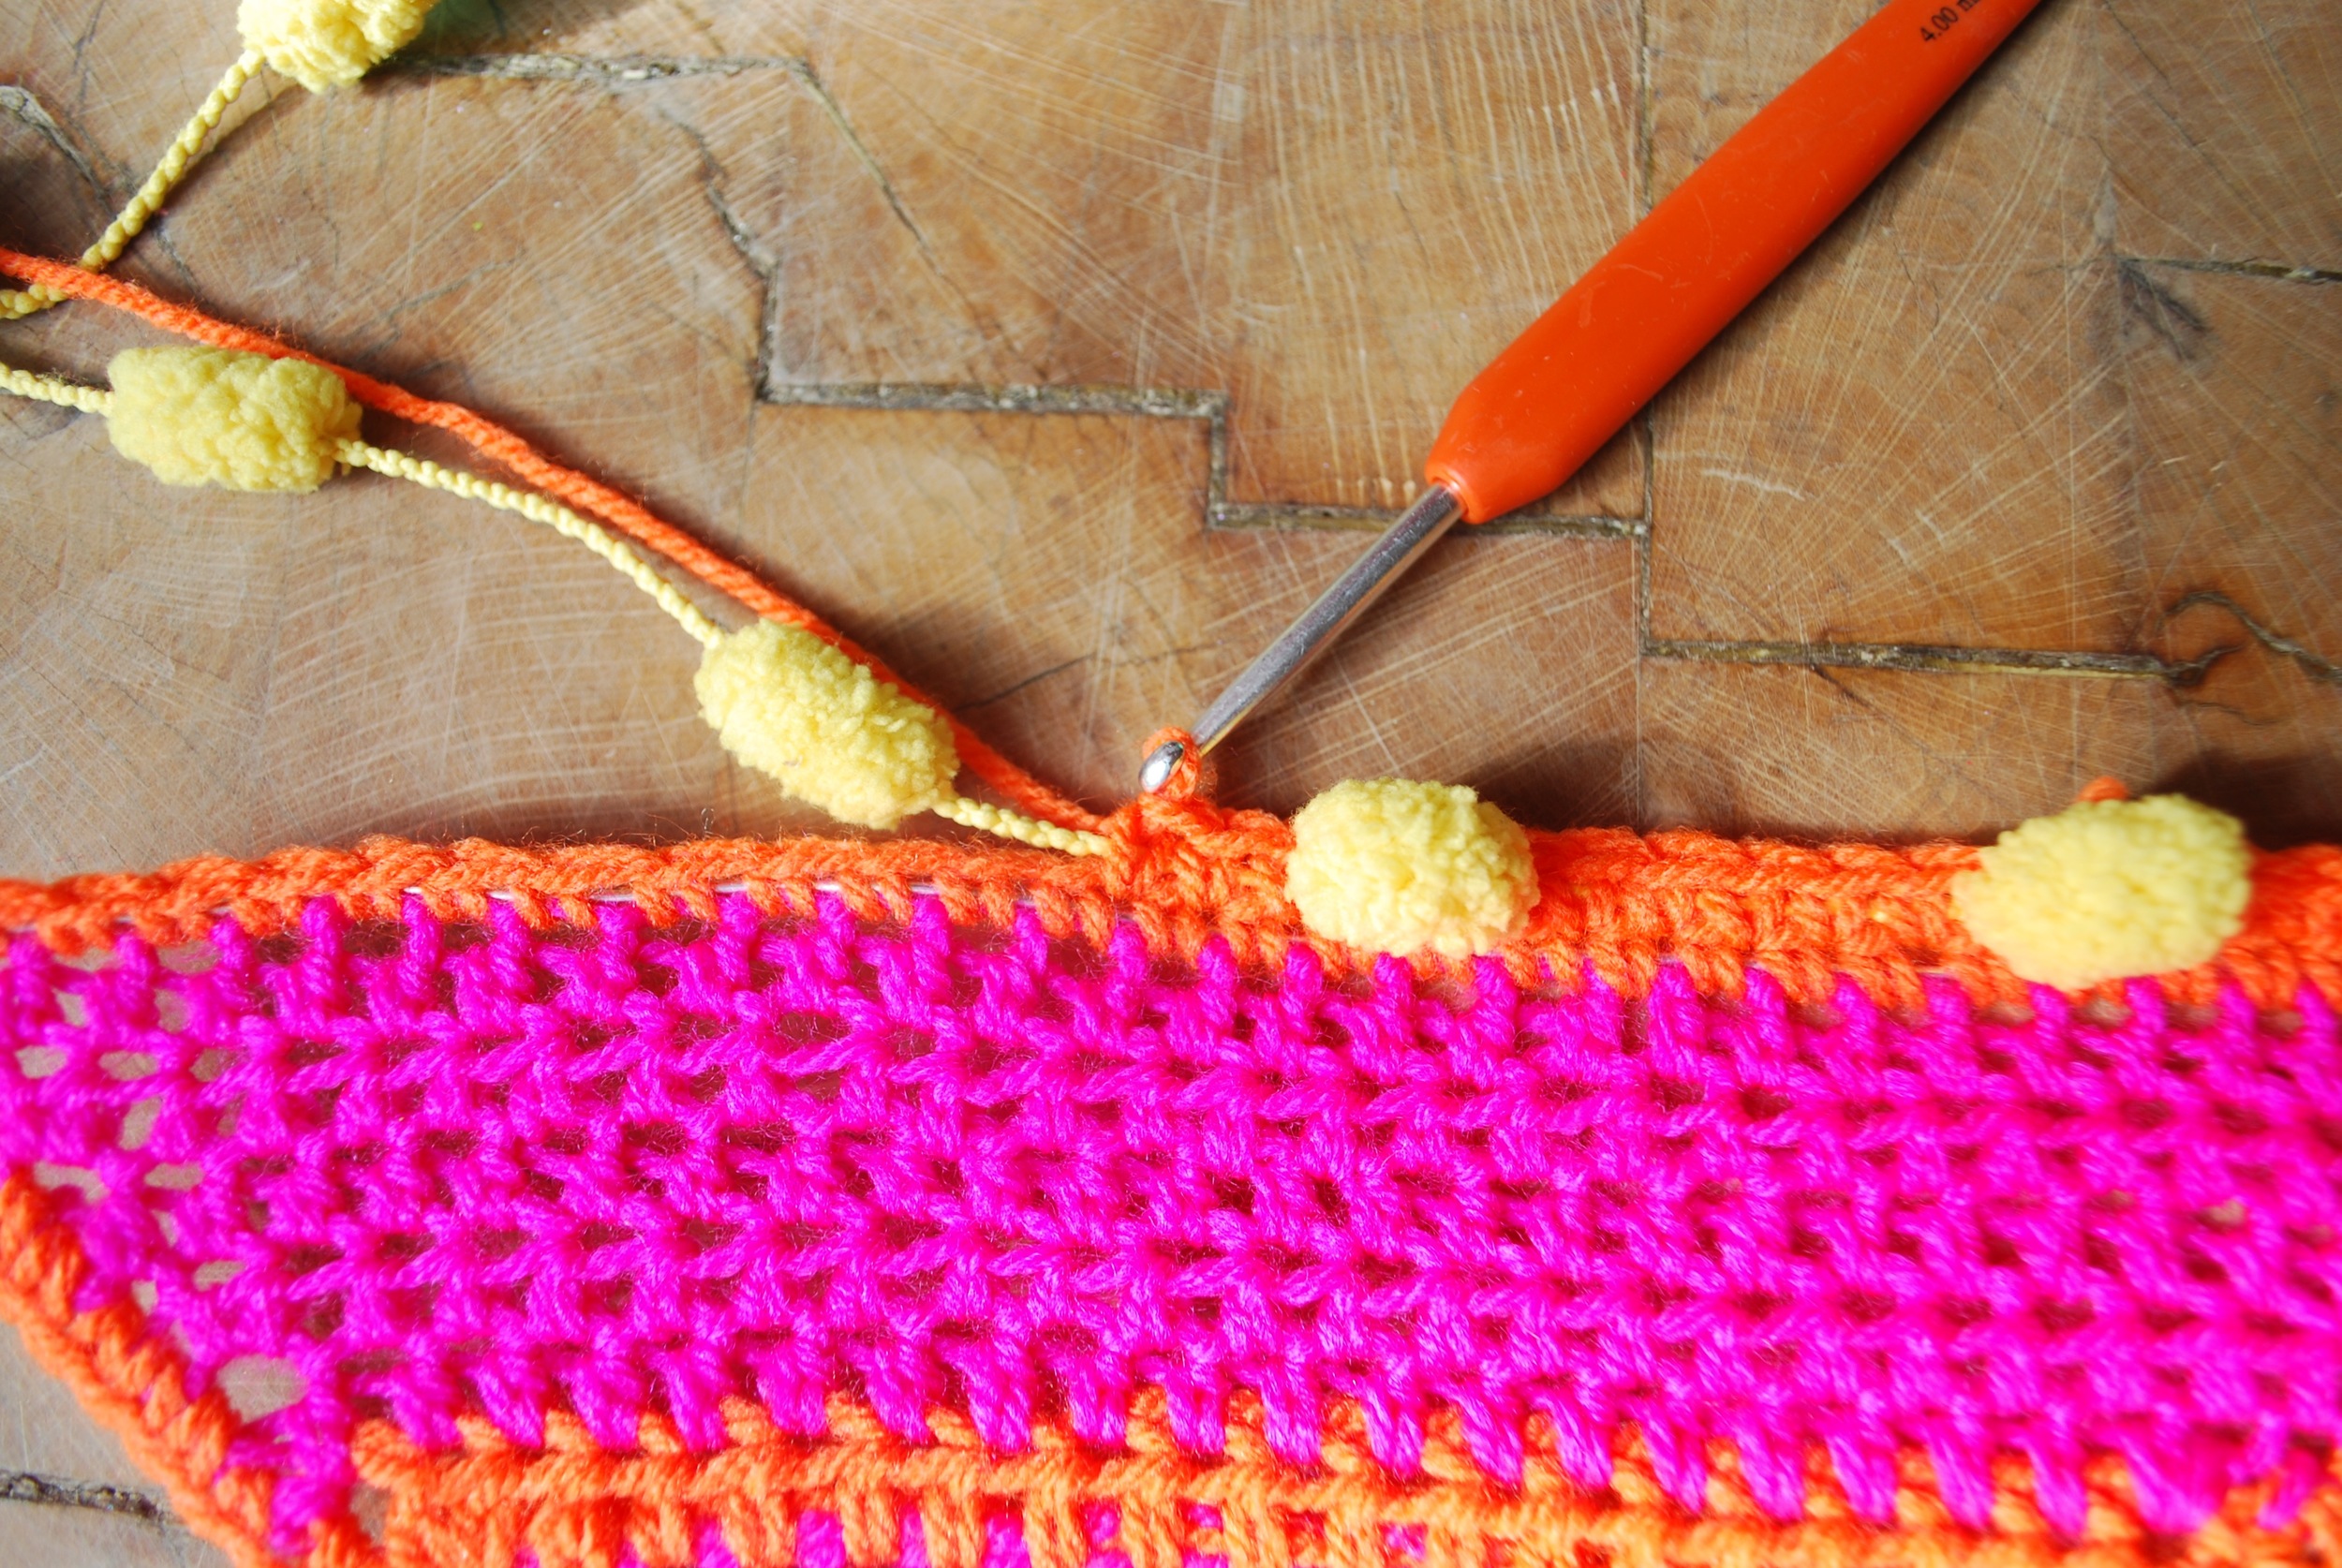
Starting at the bottom you are going to work 1 double crochet into each space working over the wire. It can be a bit fiddly so take your time!
Once the wire has been carefully crocheted into place (bending the wire at the corners) it becomes easier to handle.
Add an embellishment (or two...or three!) along the top edge
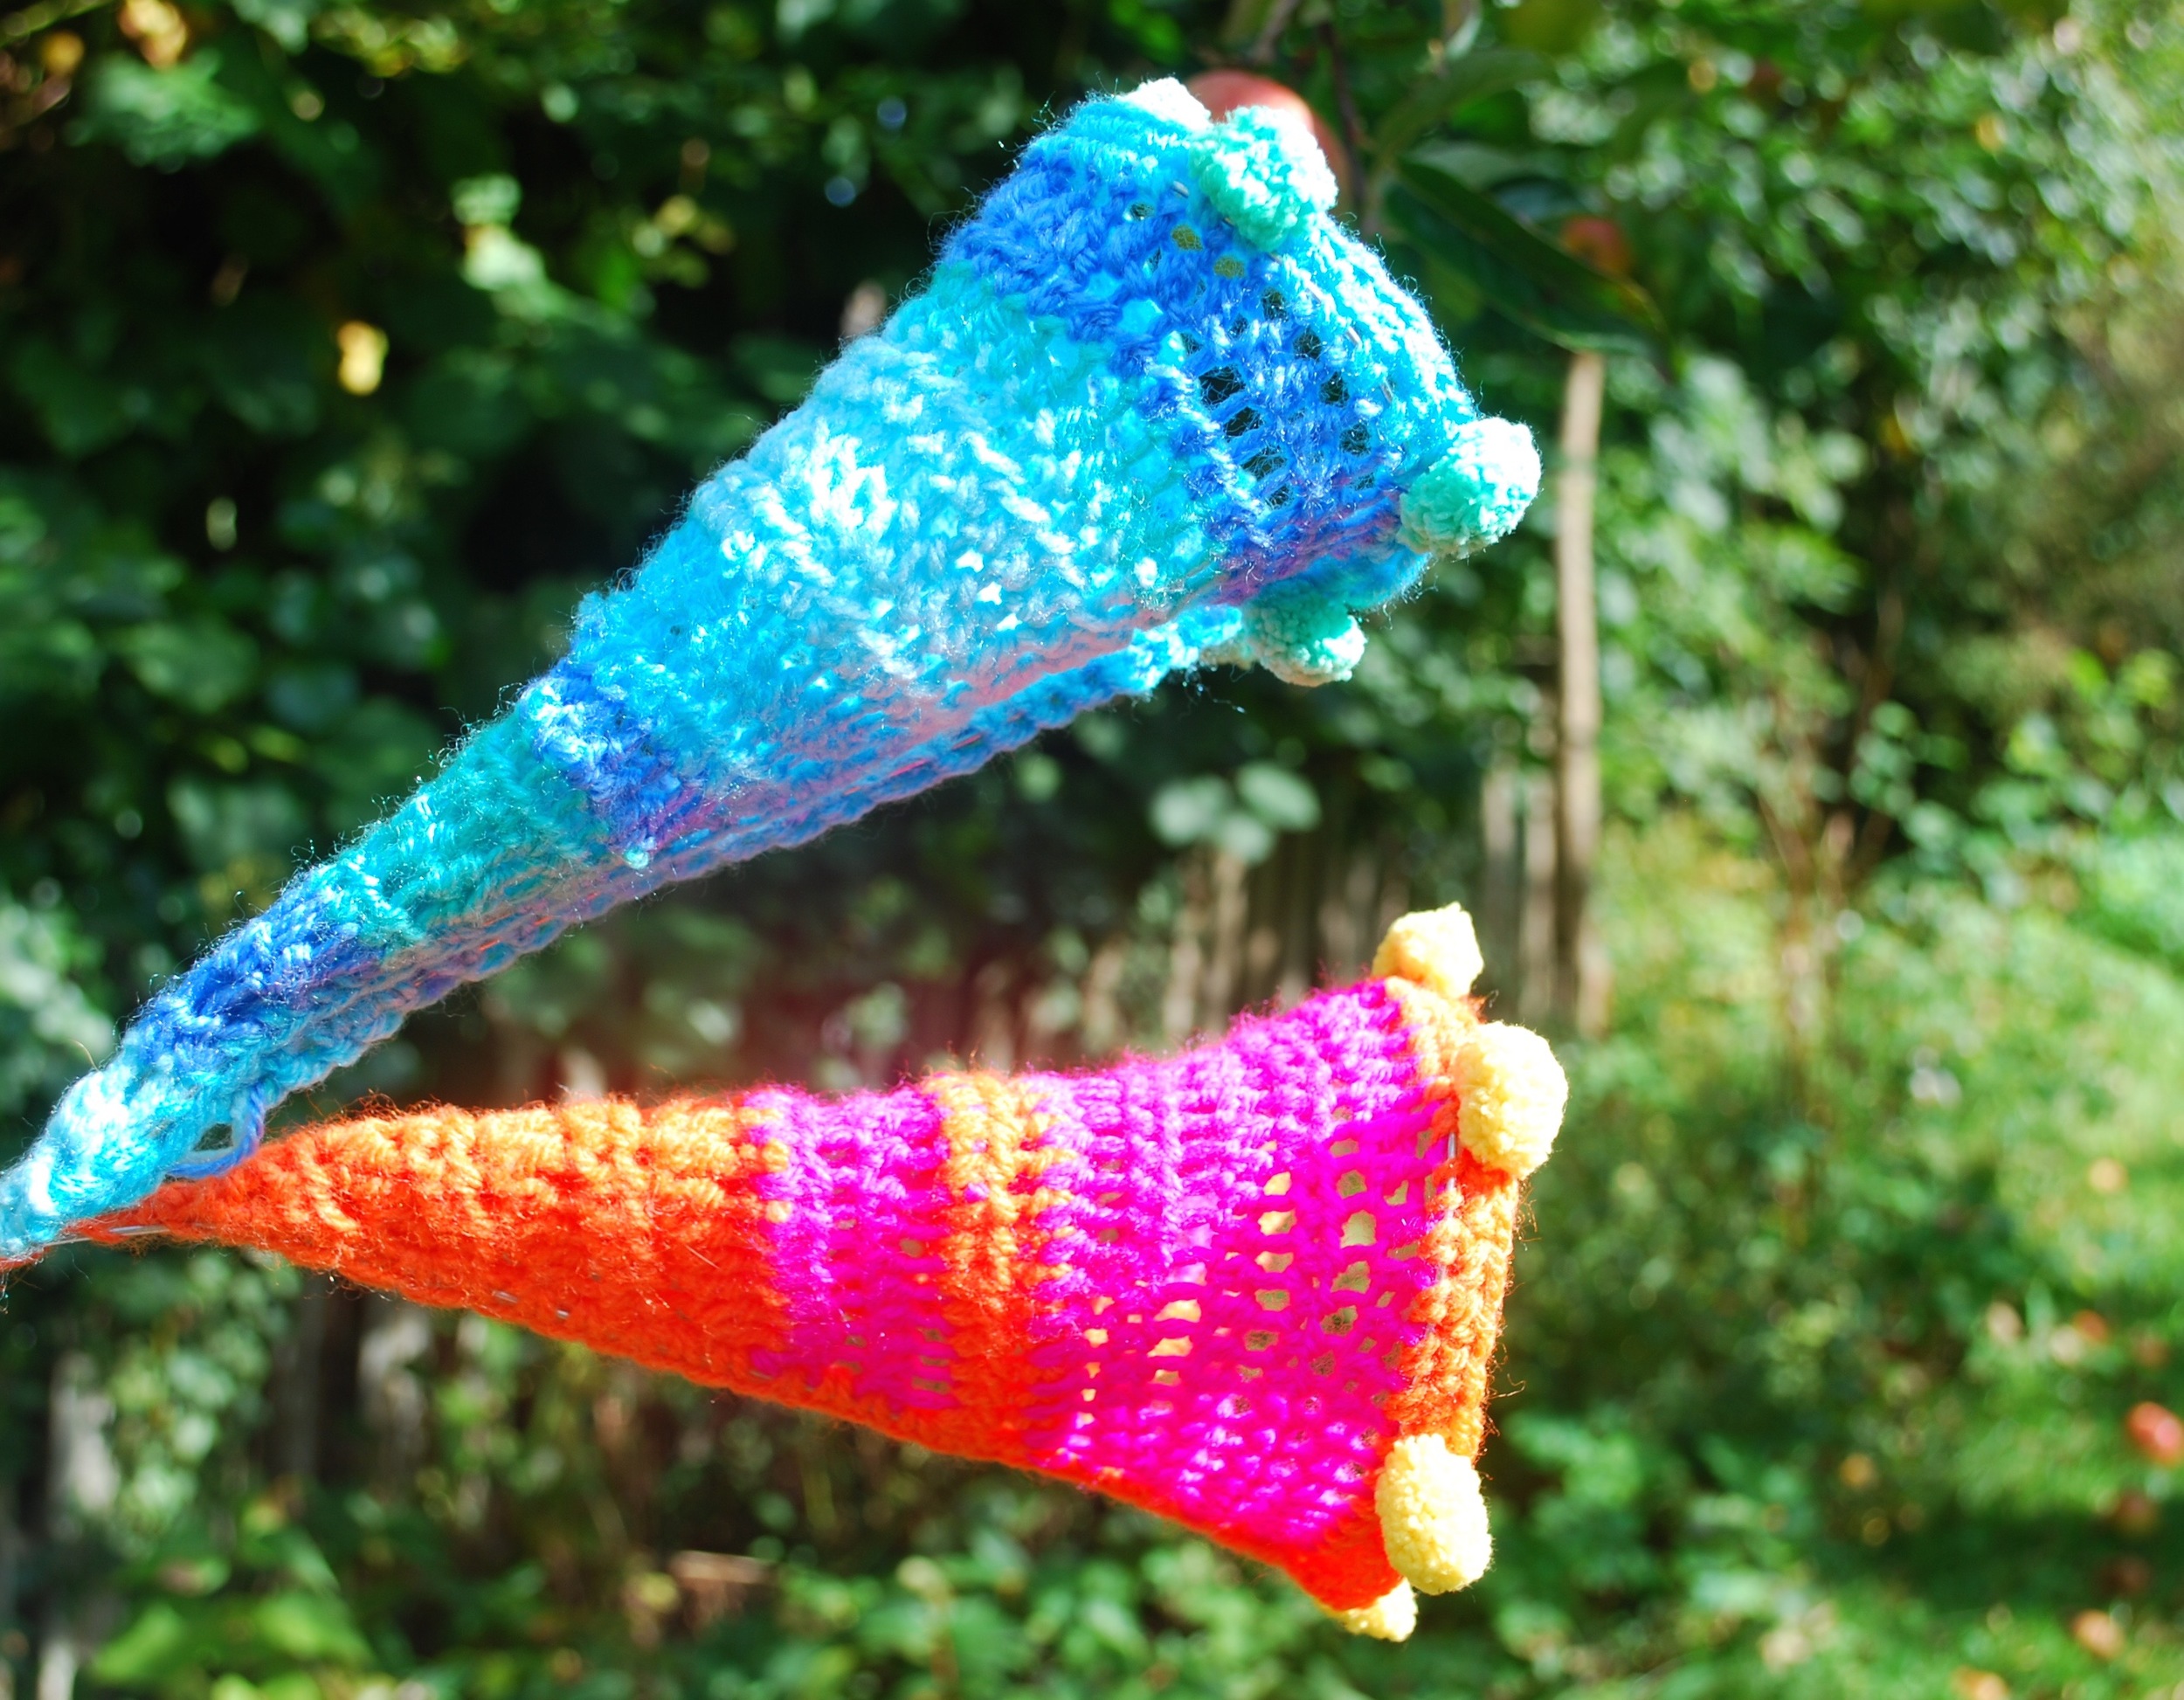
Now all that's left to do is sculpt the wire to create the desired shape. Hold one corner and gently 'curl / wrap' it around your hand to create a large open circle.


