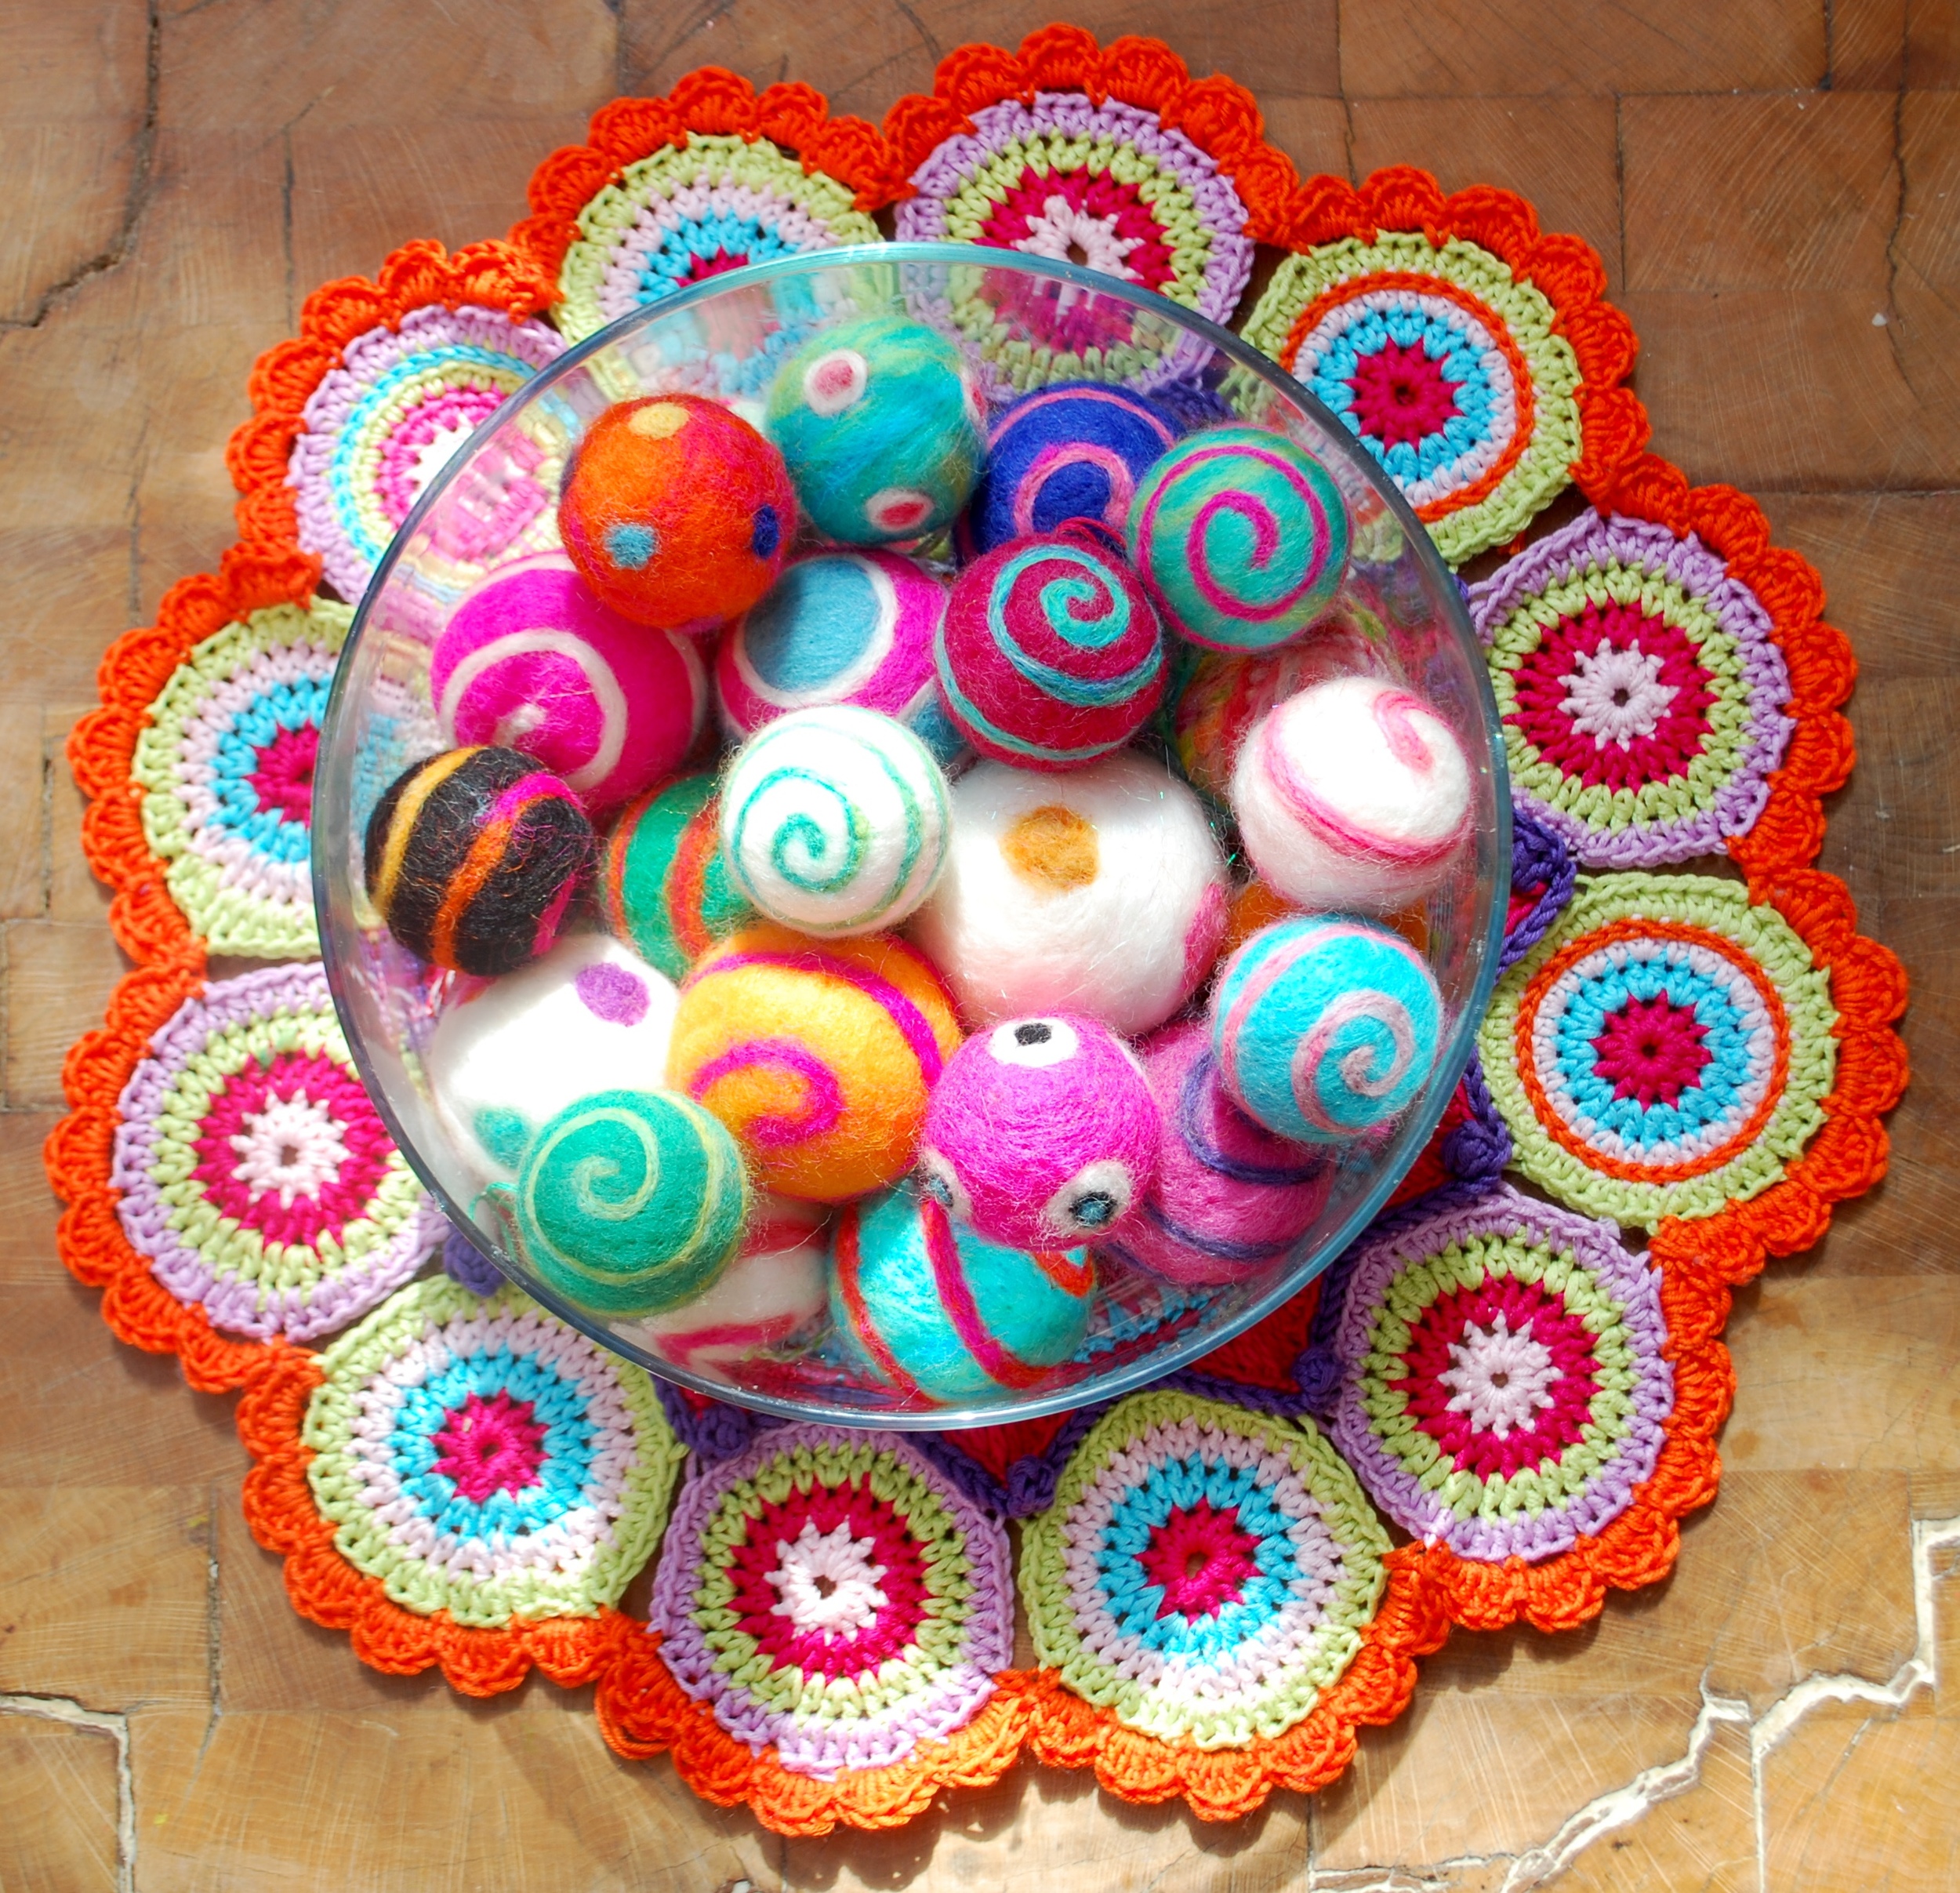
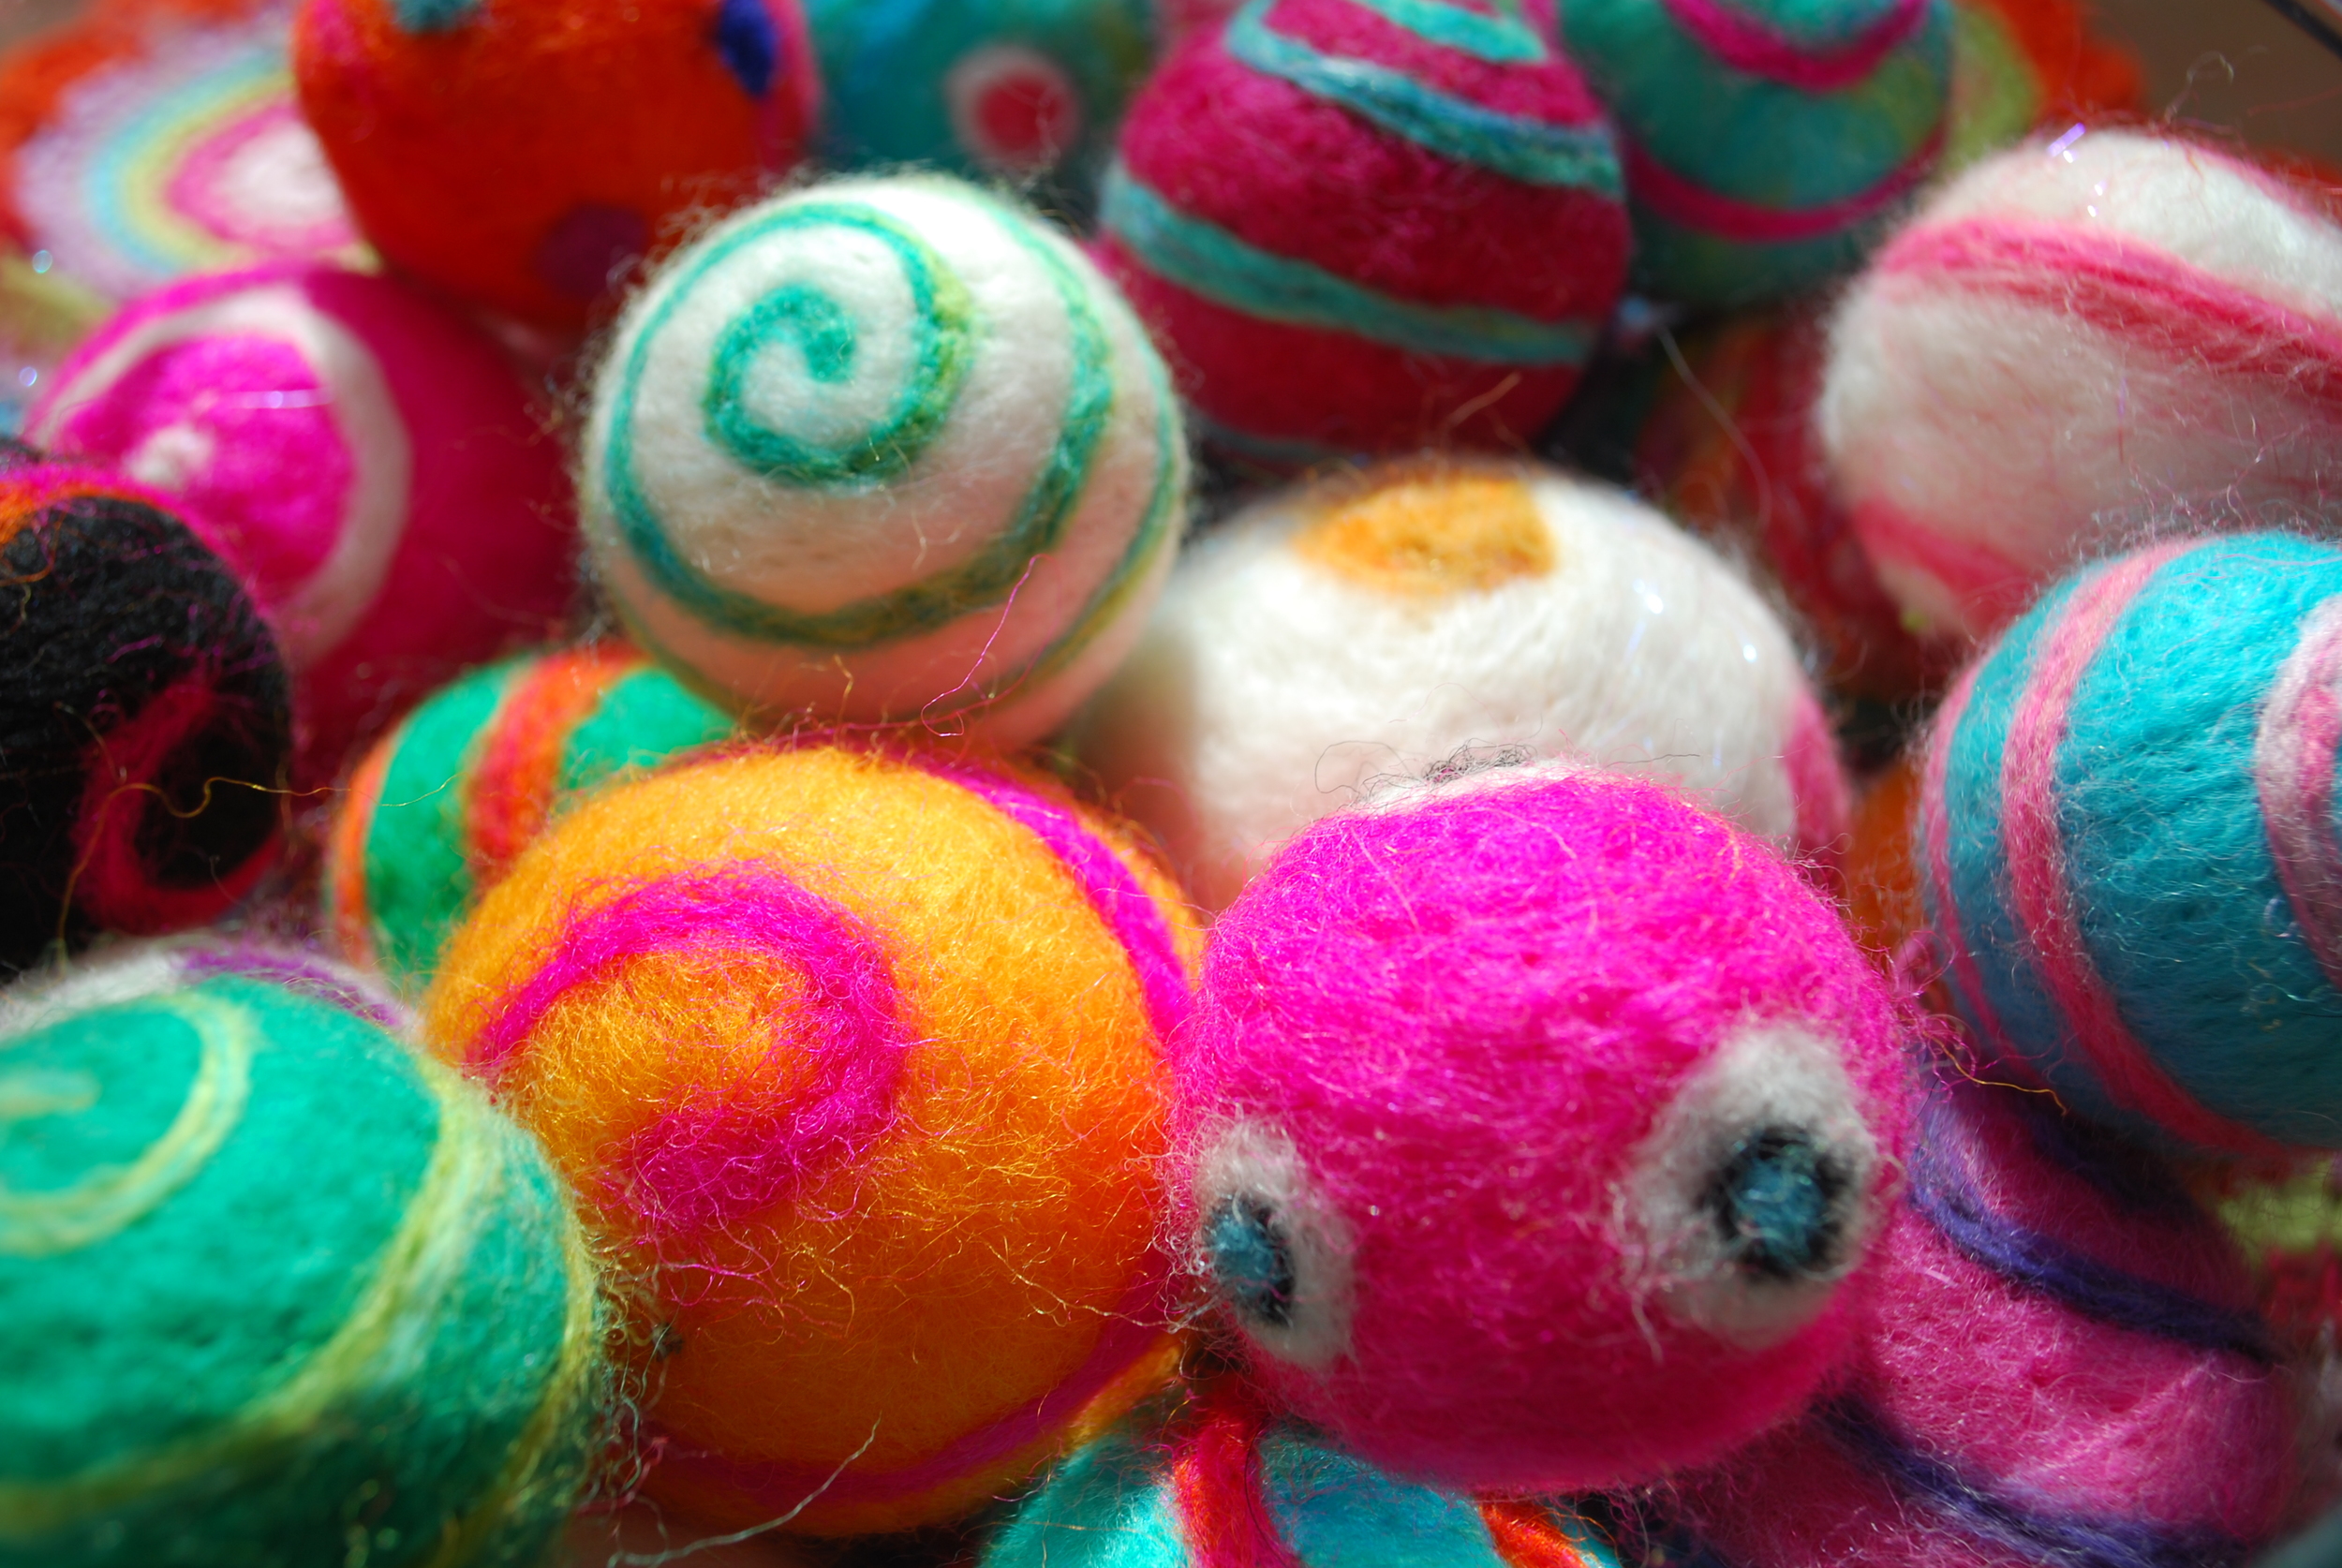
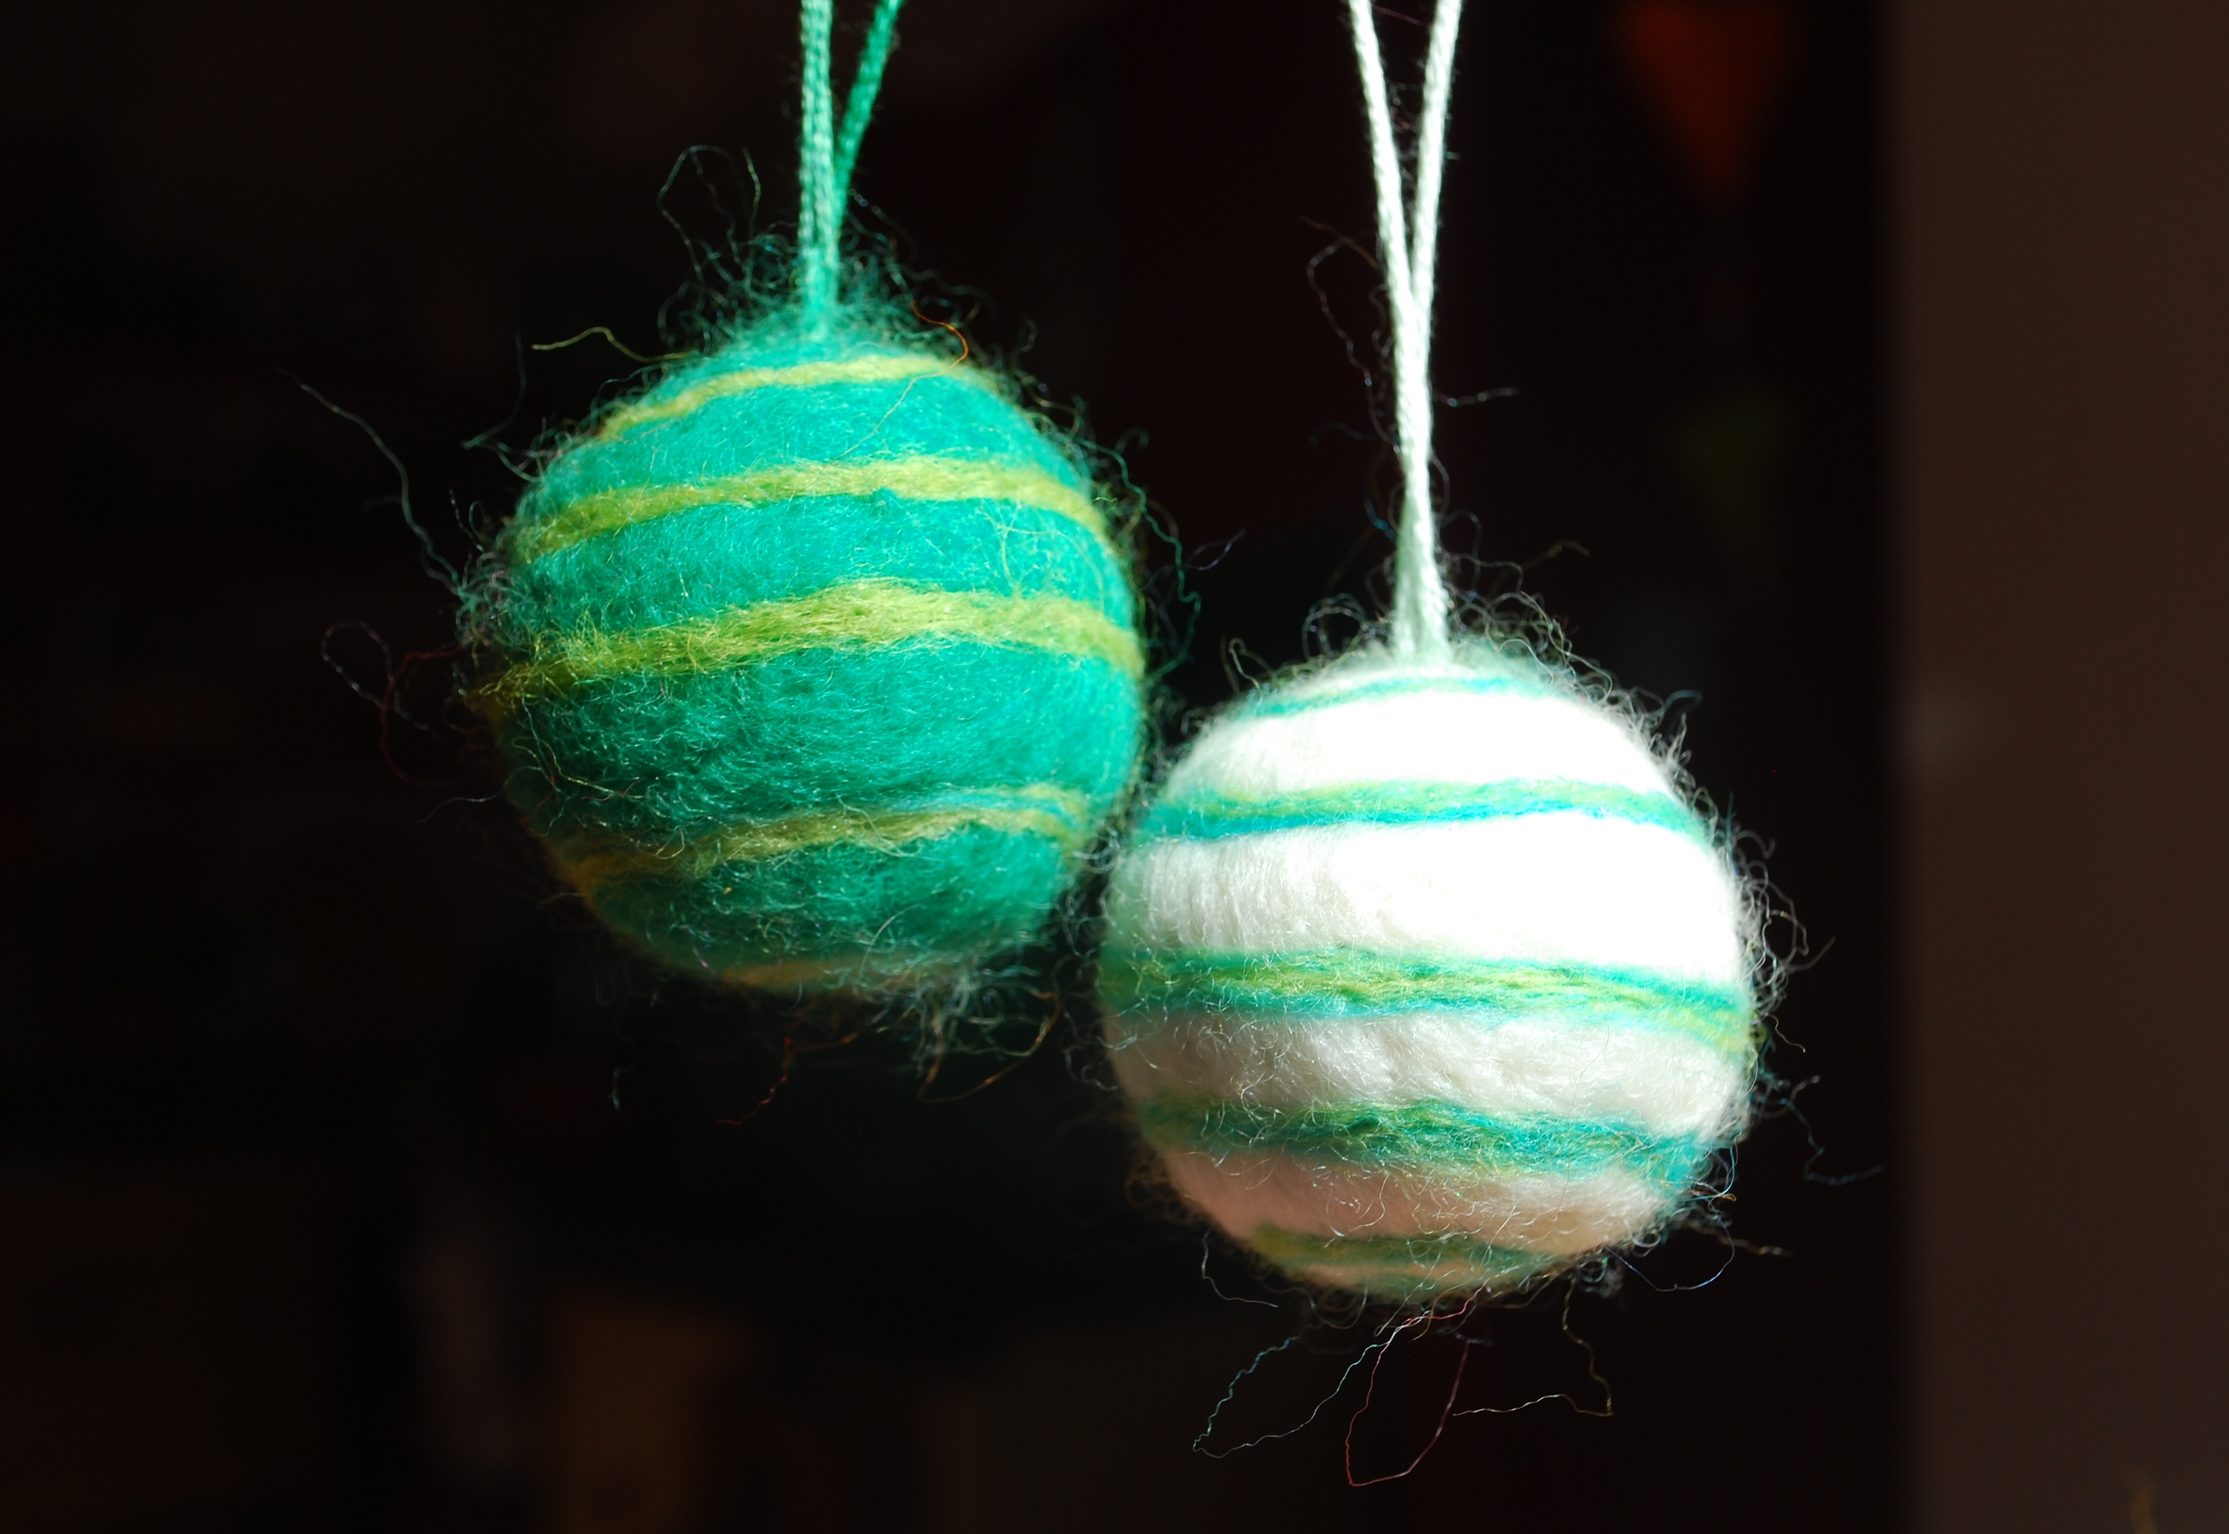
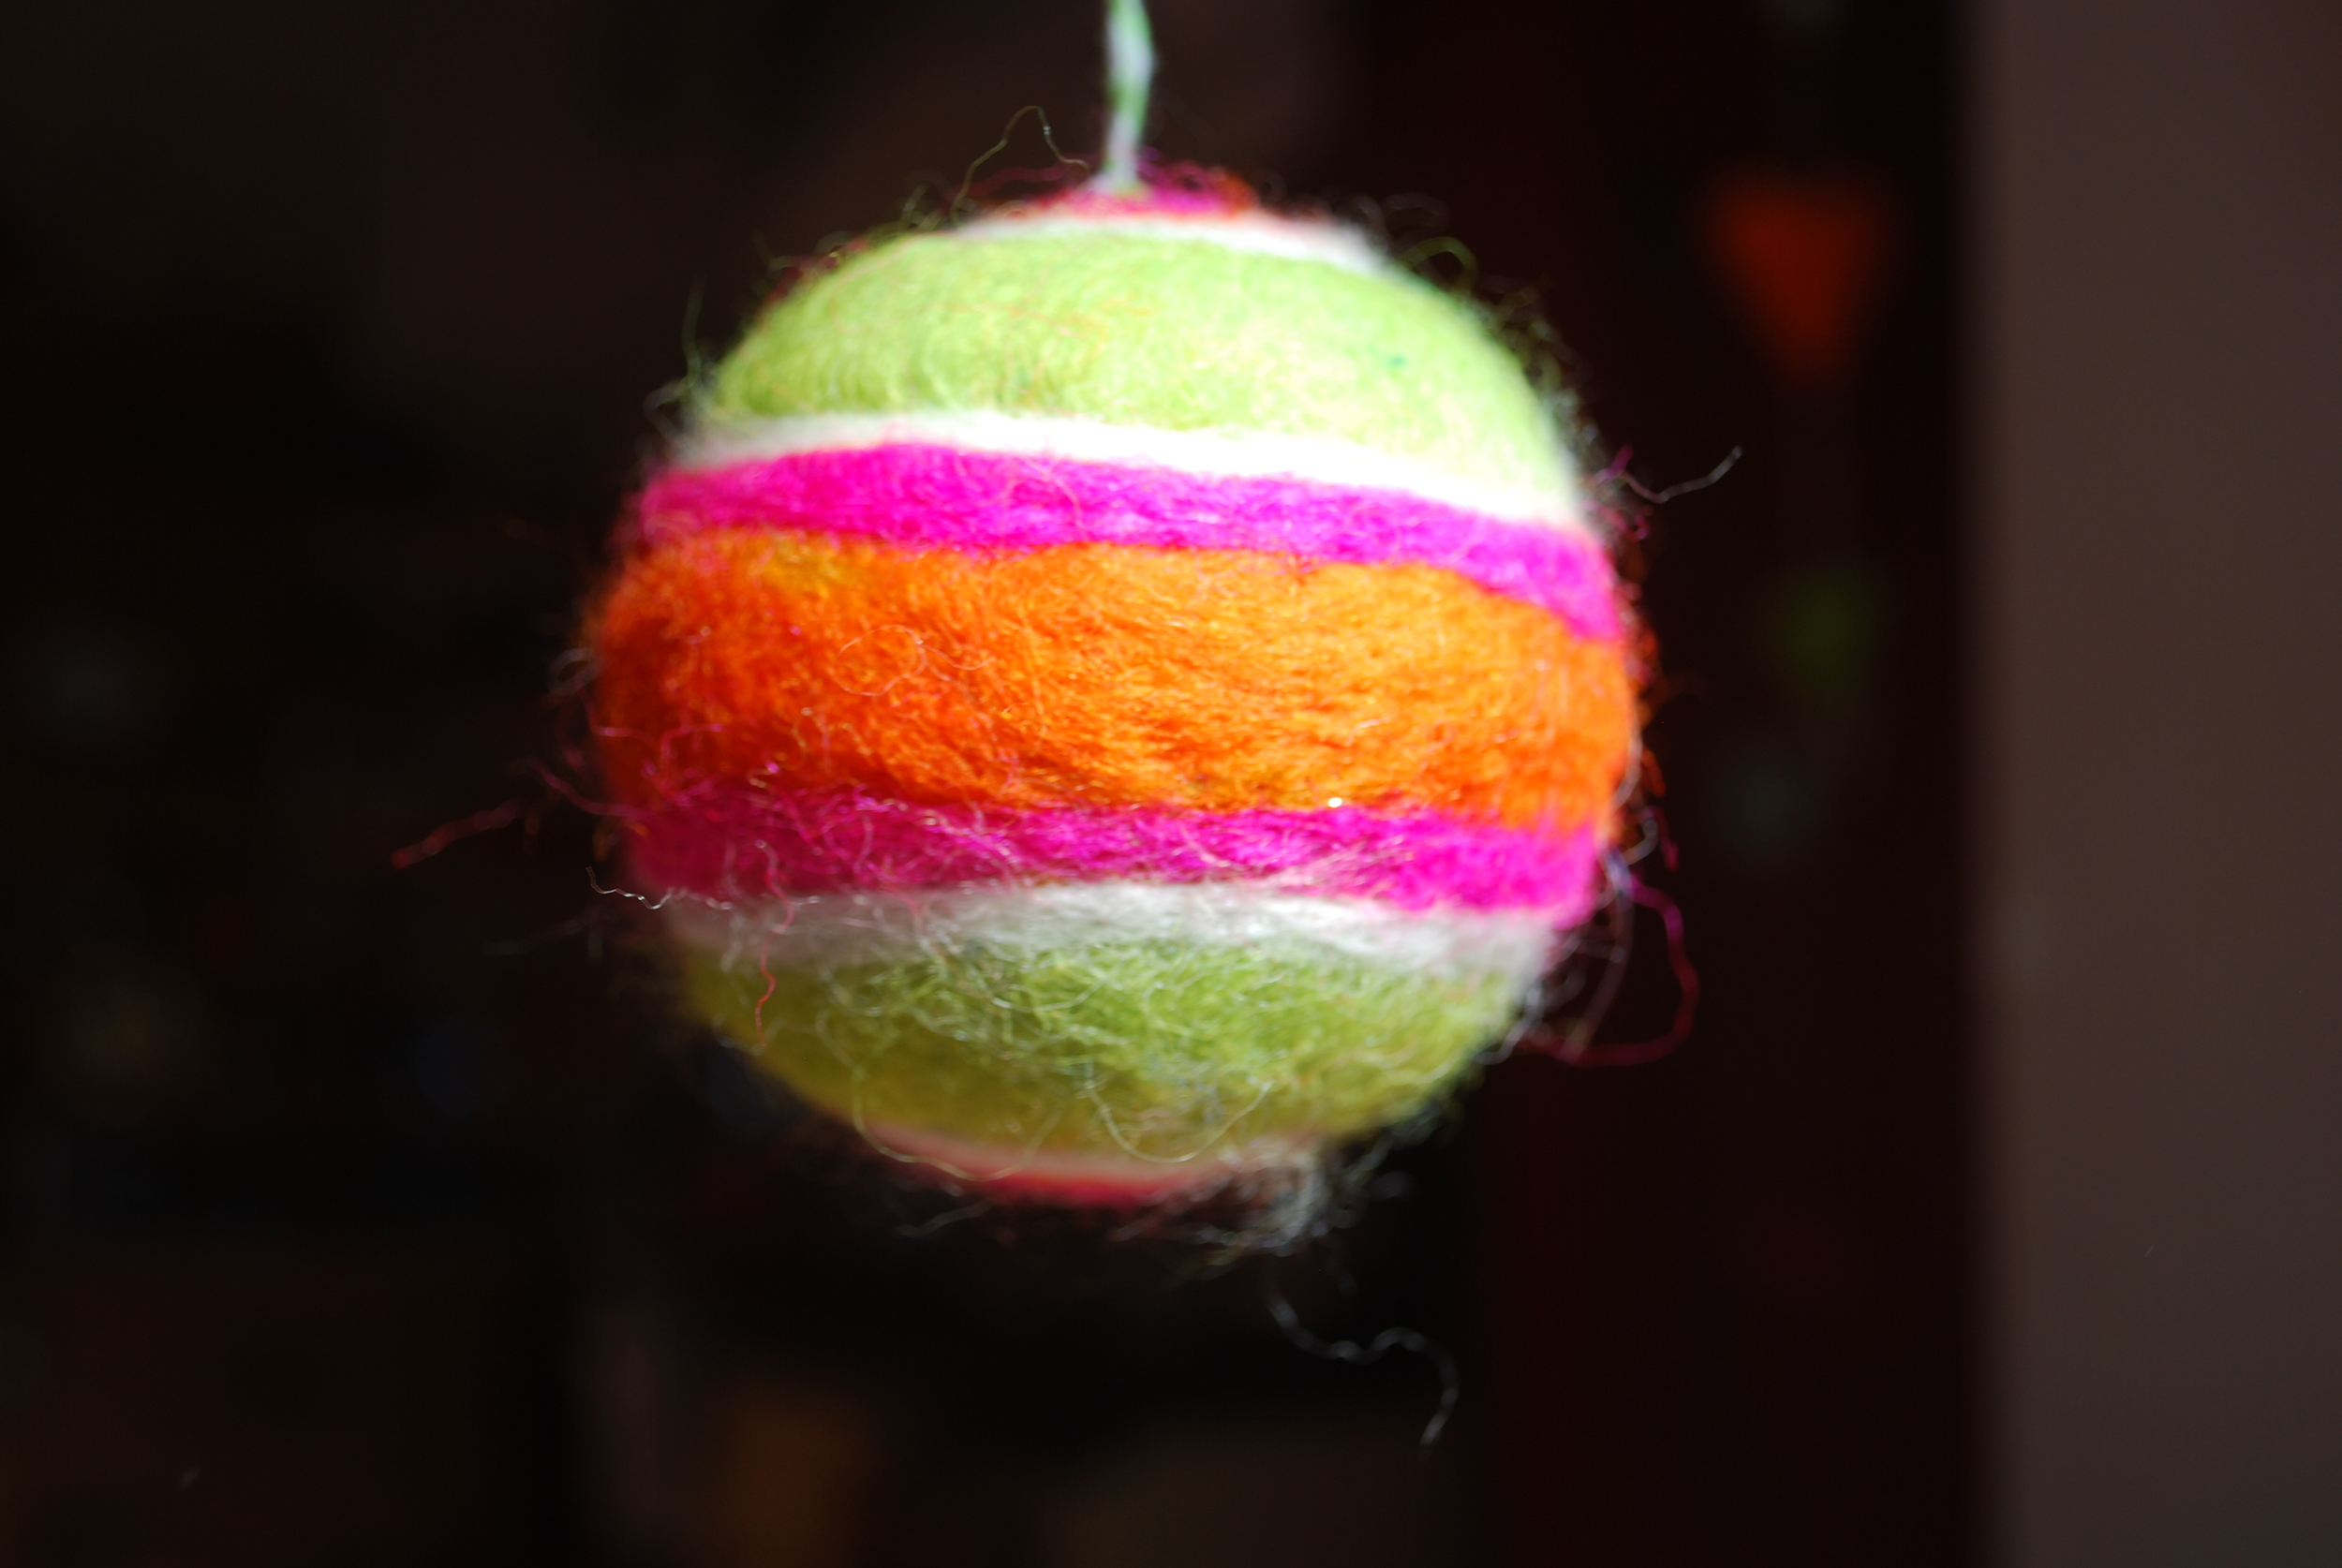
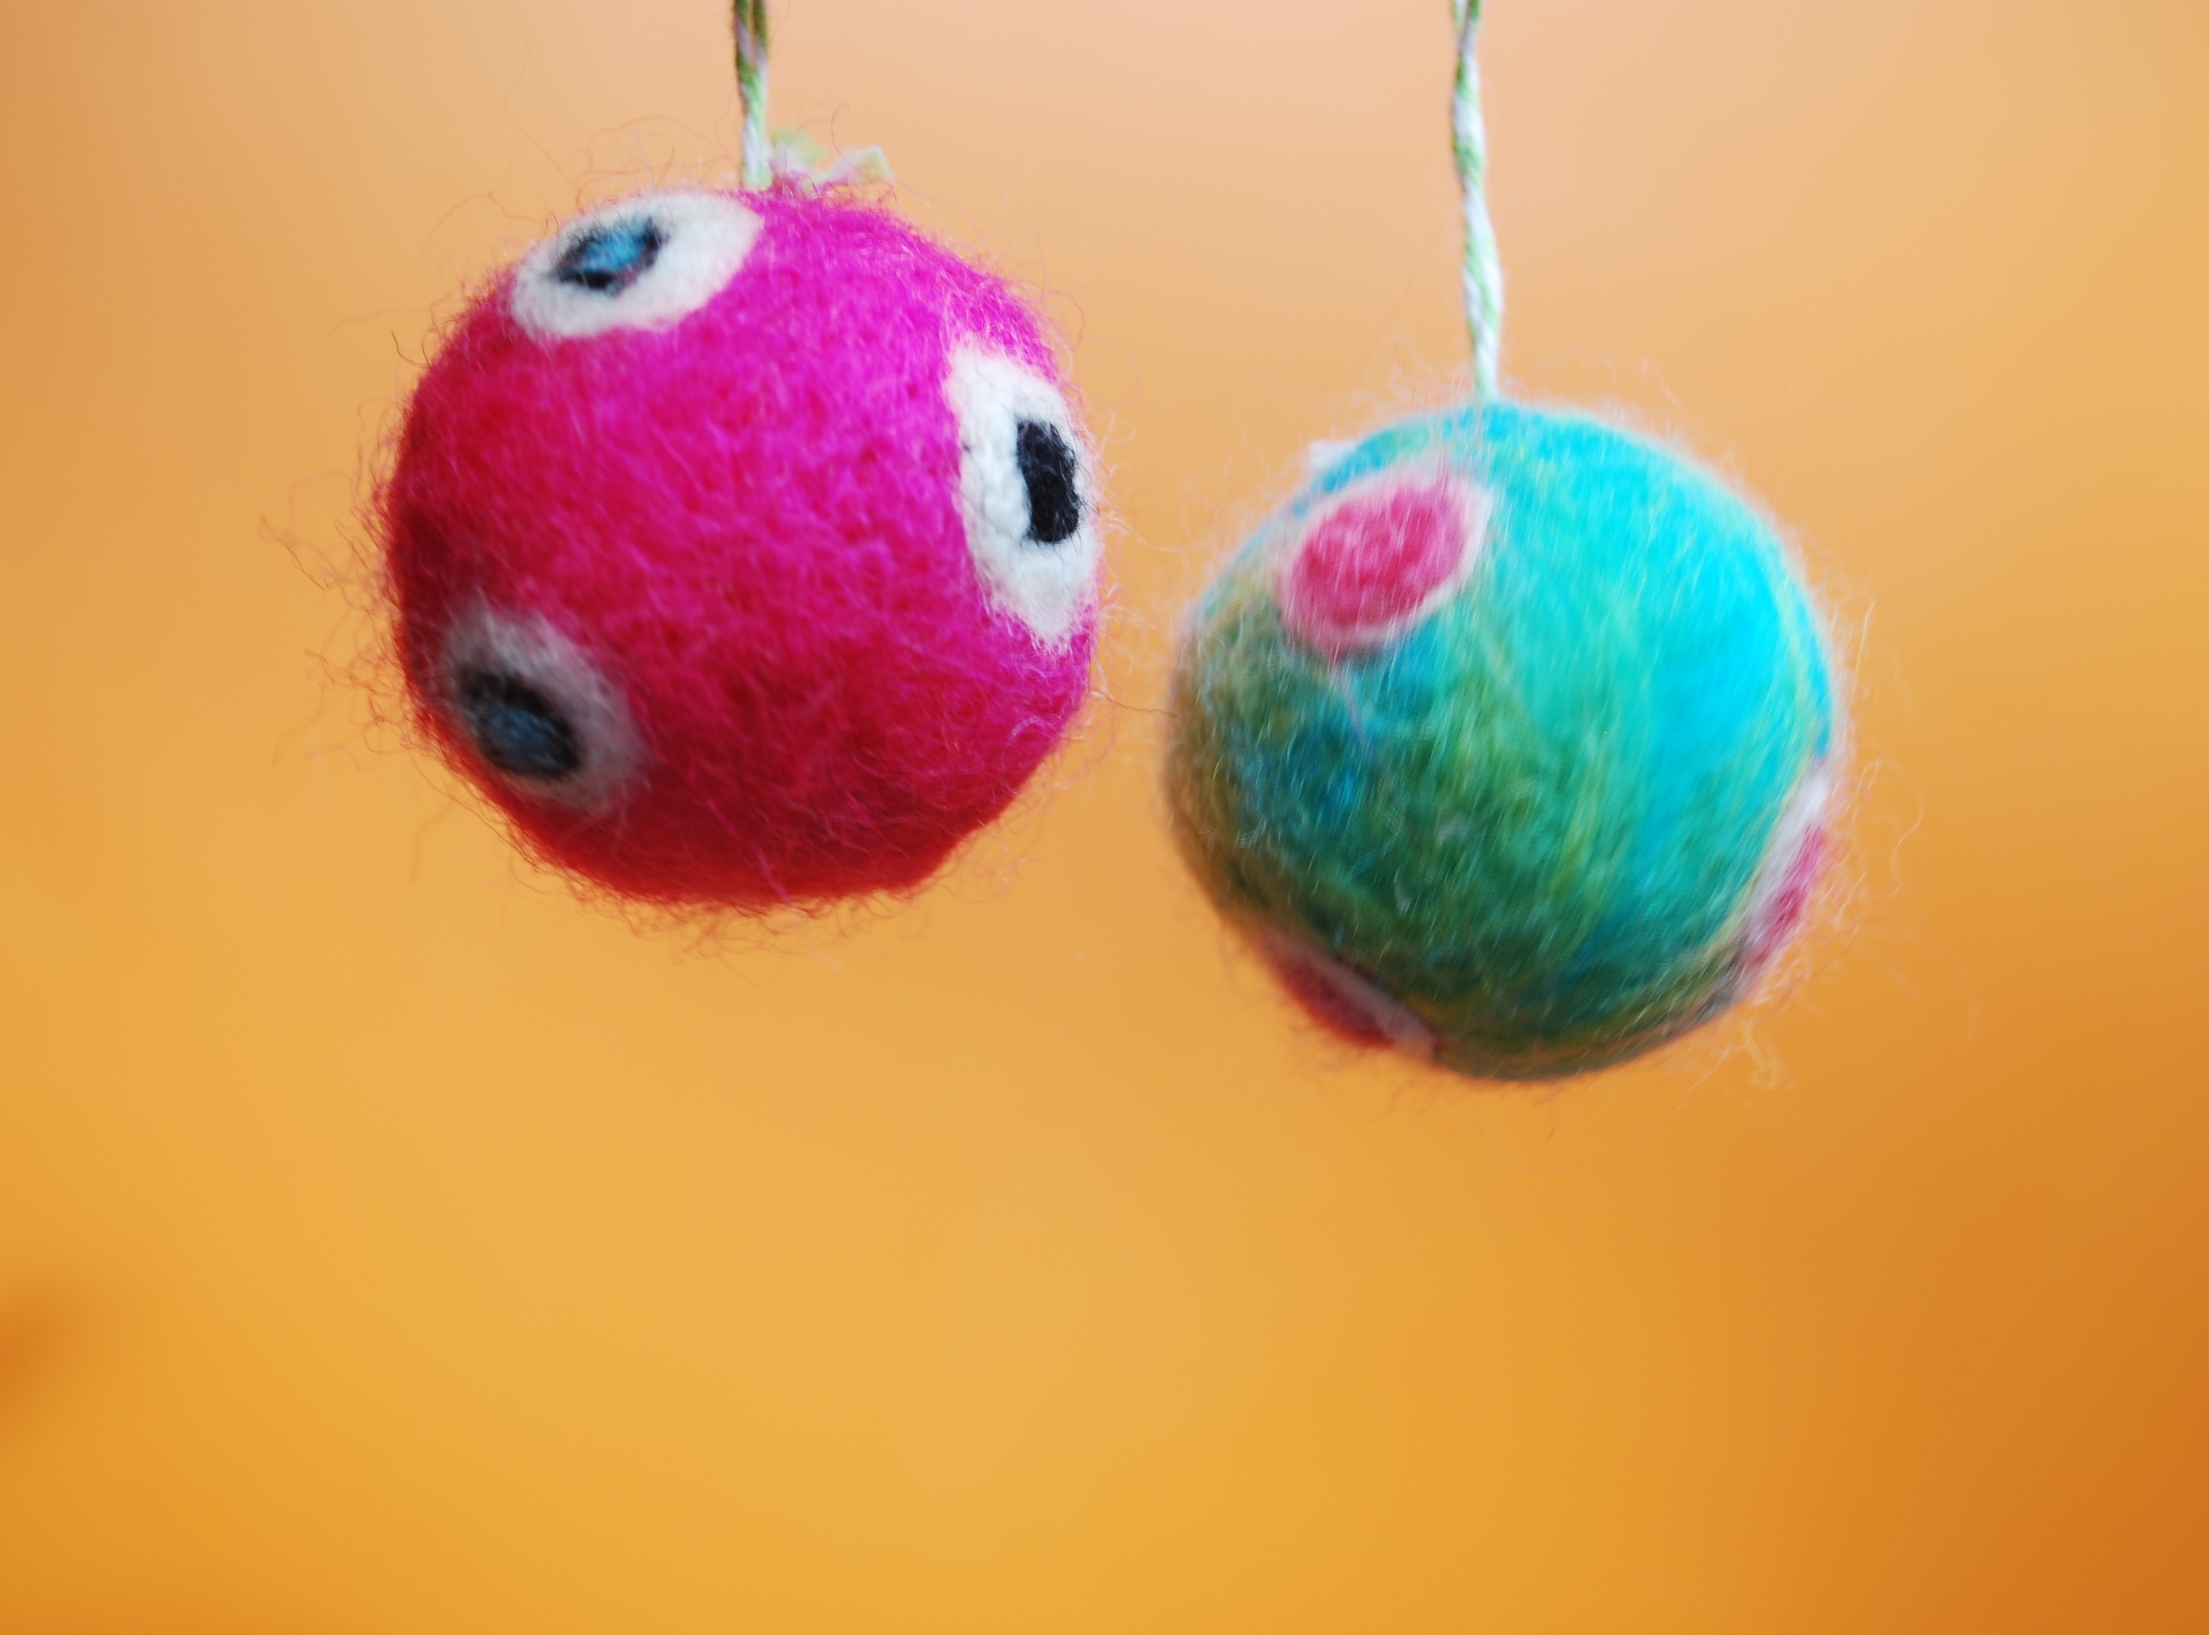
Brighten up your christmas with these easy to make colourful needle felted christmas tree decorations. Fun to do and they make the perfect gift! Last year I gave these to friends instead of cards and they loved it.
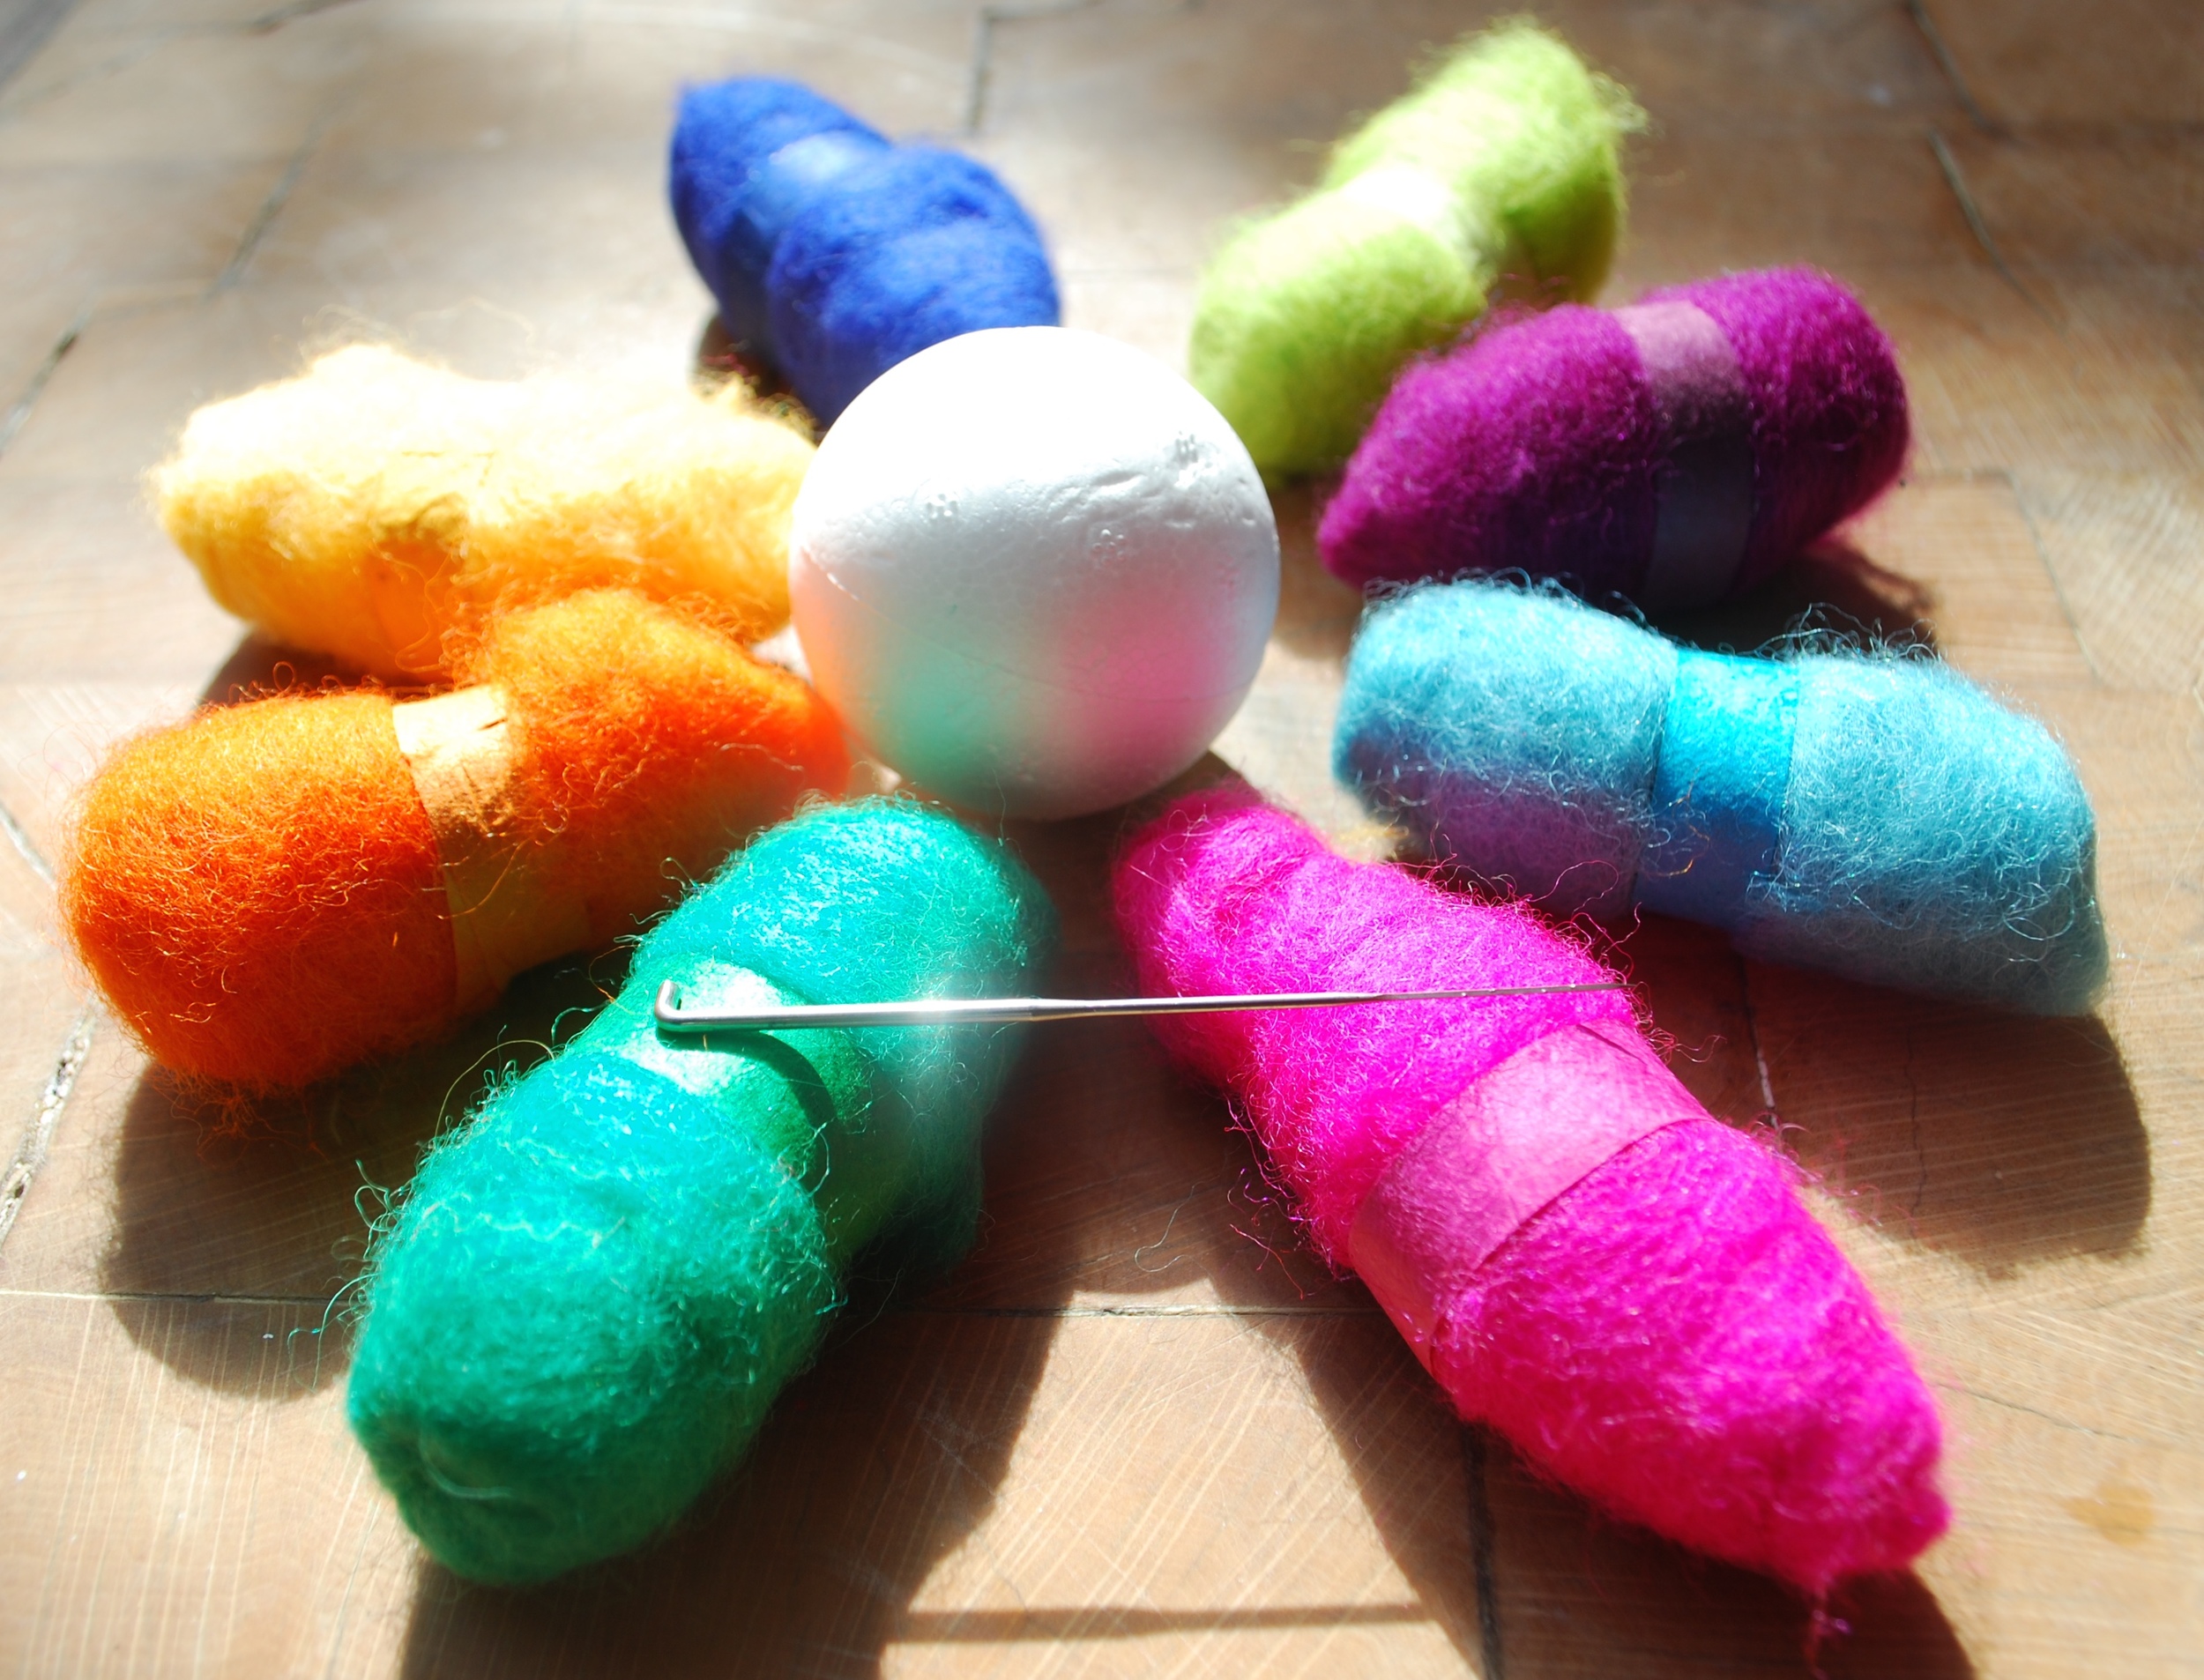
To begin you will need the following:
A Polystyrene ball - any size
A felting needle
A selection of colourful felting wool.
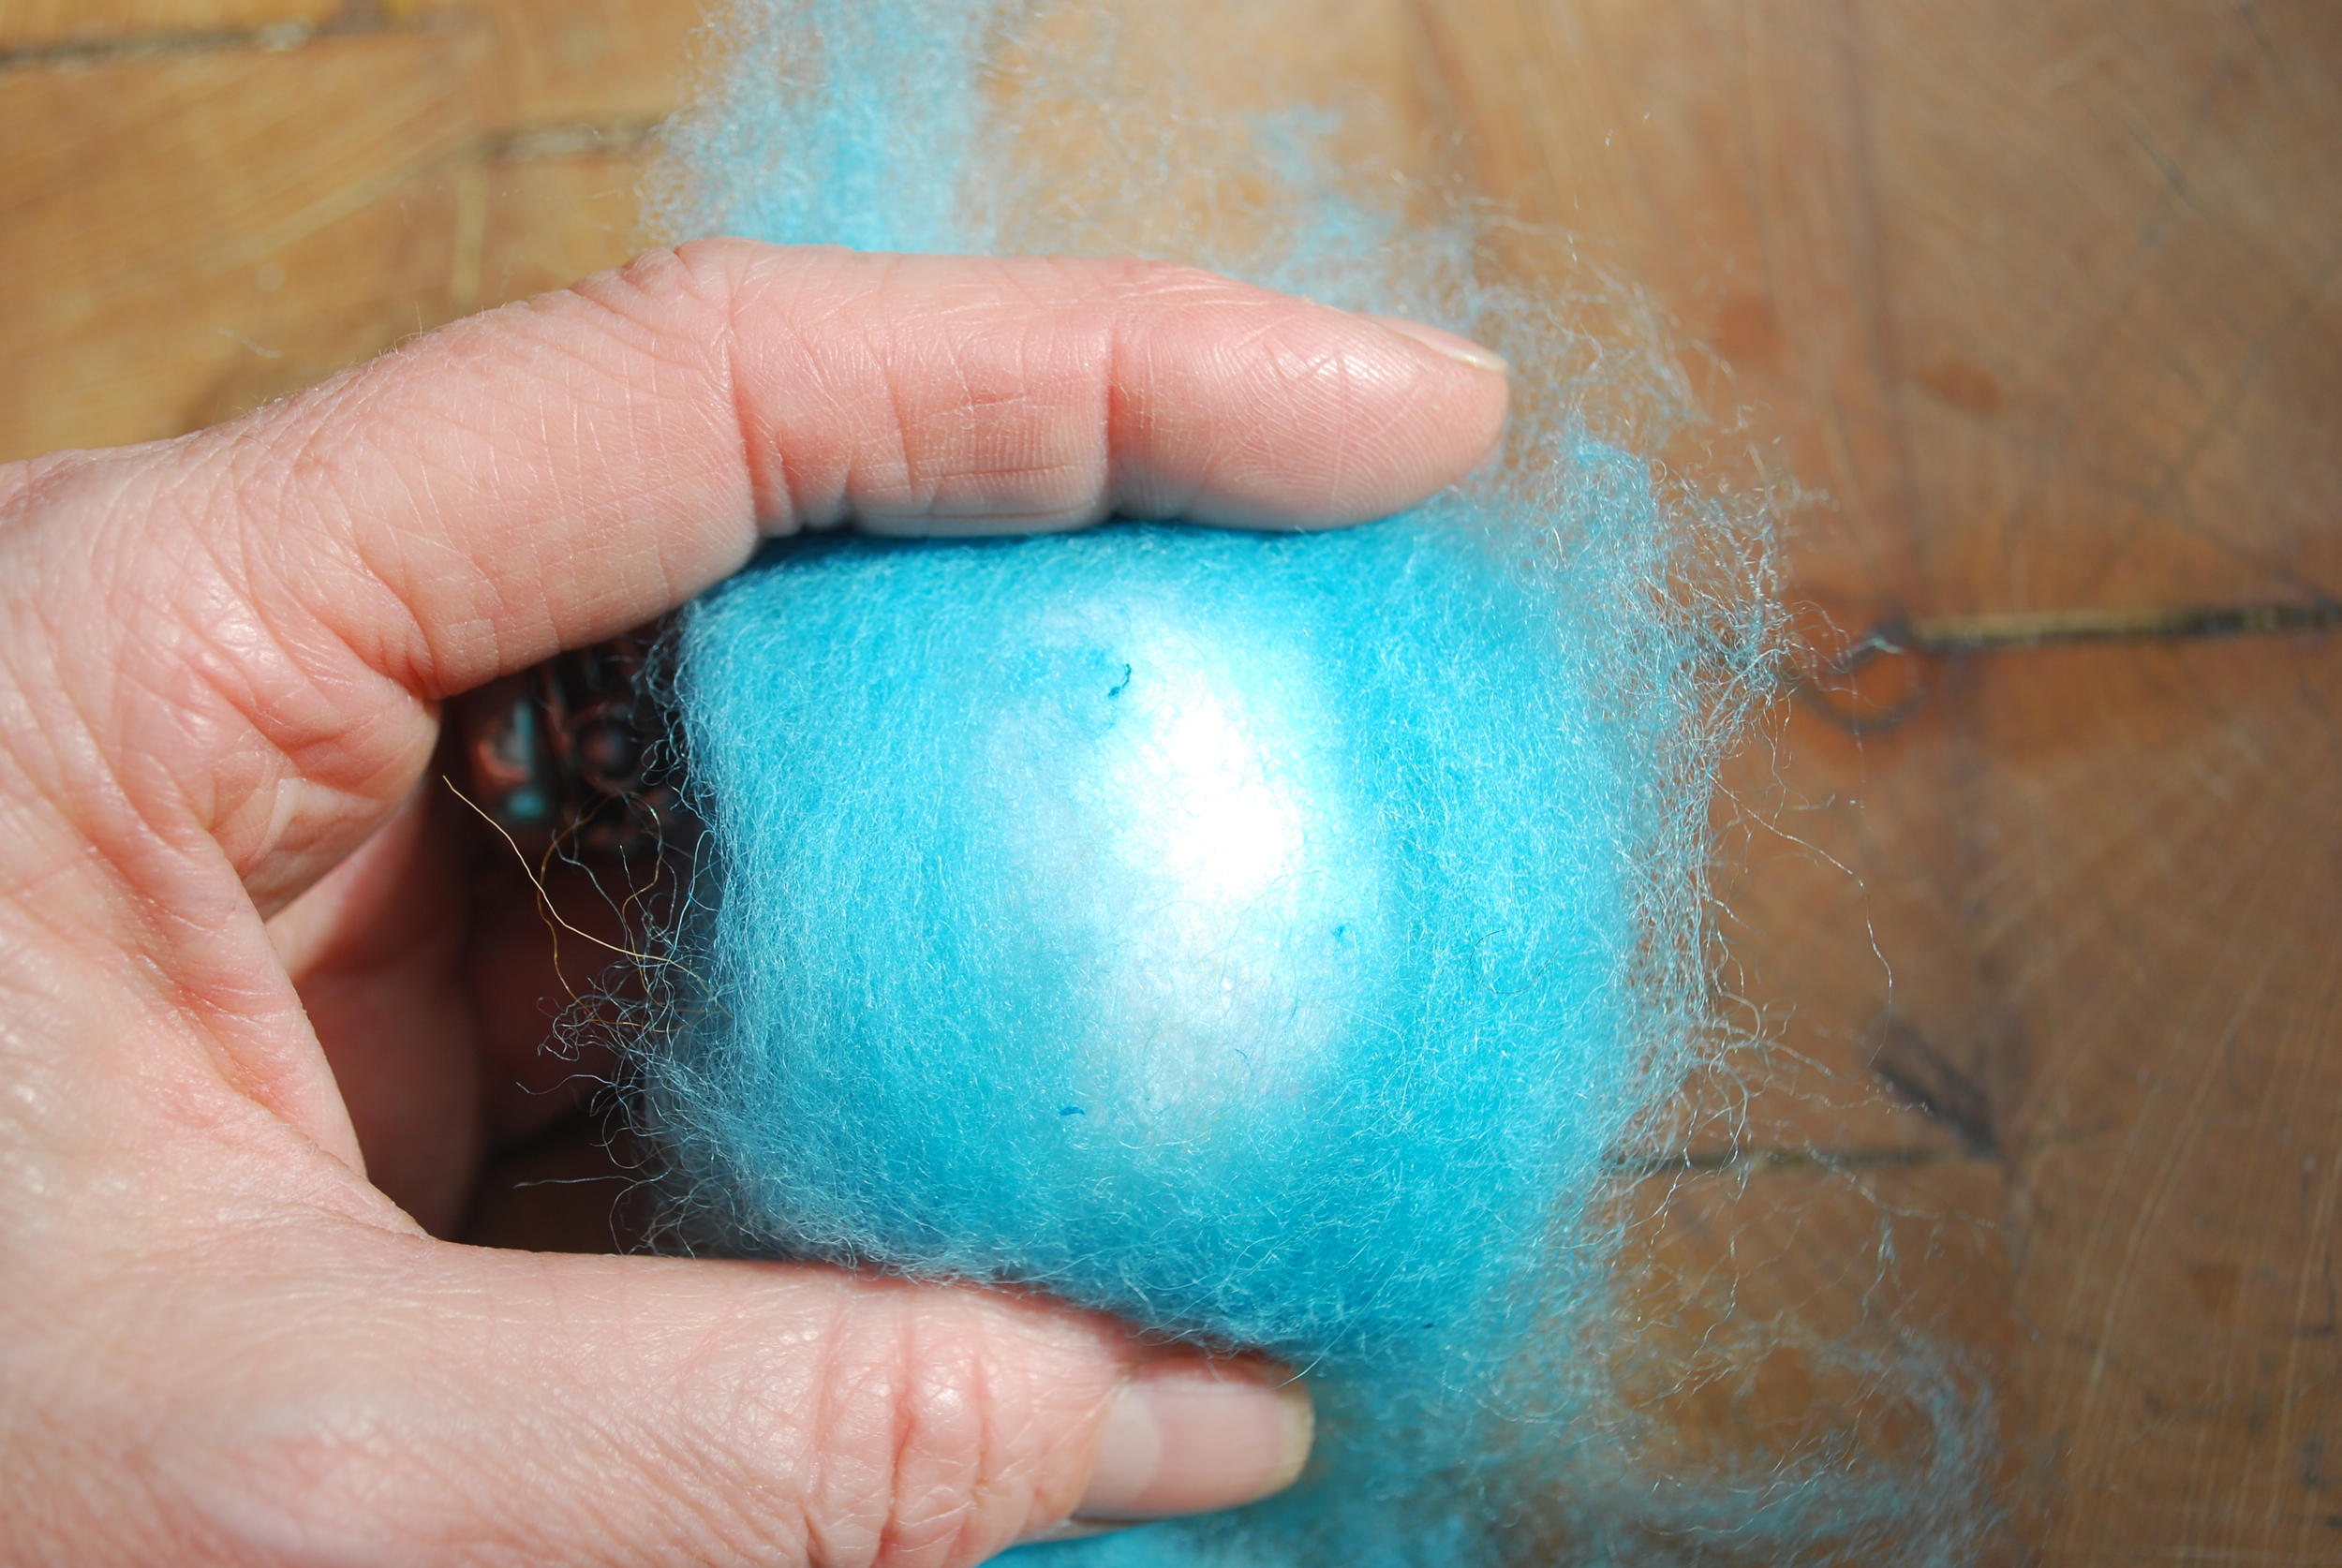
Begin by choosing your your base colour and pull off a length that is long enough to wrap around your polystyrene ball.
Place the felt around the ball and hold it in position whilst you gently push the felting needle into the ball.
With each 'jab' of the needle you are pushing the wool fibres into the ball and after only two or three 'jabs' you can turn the ball upside down and see the felt held in place.
Continue to work around the ball gently jabbing the needle into the polystyrene ball until all the felt is securely held in place.
Cover the remaining areas with felt and work it in using the felting needle.
Keep adding felt to any bald patches and securing it in place with the needle jabbing until the ball is completely covered in an even layer of felt.
Once you have covered the ball all over in the base colour and secured it in place by jabbing it all over for several minutes you are ready to add the swirl. The more you needle ('jab!) it the smoother the surface so take your time.
The next step is to decorate the ball with a needle felted swirl. I've chosen two colours that are my favourite colour combination, hot pink and deep orange....very 'Bollywood'!
I am going to show you how to blend from one colour to another....it's very simple and in doing so you will begin to see how versatile needle felting can be. It's like painting with wool. So, to begin, you need to pull a little piece of felt from the main bulk because as you can see, we don't need an awful lot.
Anchor the felt into the ball by 'jabbing' it a few times with the felting needle.
Continue to felt the swirl in the direction you want it to go in. Don't worry at this point about it being too neat as we will return once it's positioned and go over it all again with the felting needle until it's neat and tidy. For now we are simply getting it all in place. A rough sketch if you will!
Try to avoid gripping the felt too tightly as this prevents the fibres from being introduced into the ball when you jab it with the felting needle.
When you are ready to change colours (about mid way around the ball) pull the remaining felt away leaving some wispy bits as in the picture.
Take your second colour (In my case deep orange) and lay a thin layer of it over the first colour (pink) and needle it into position.
Continue to work the second colour just as you did with the first until you reach the other end of the ball.
Pull any reming felt away and secure the end in place by needling it in.
Work back round the swirl needling the edges some more to neaten it all up.
Cut a piece of bakers twine roughly 10 cm and tie a knot.
Push a pin through the knot and secure it into the ball.
Your needle felted christmas tree decoration is now ready to hang on your tree!

